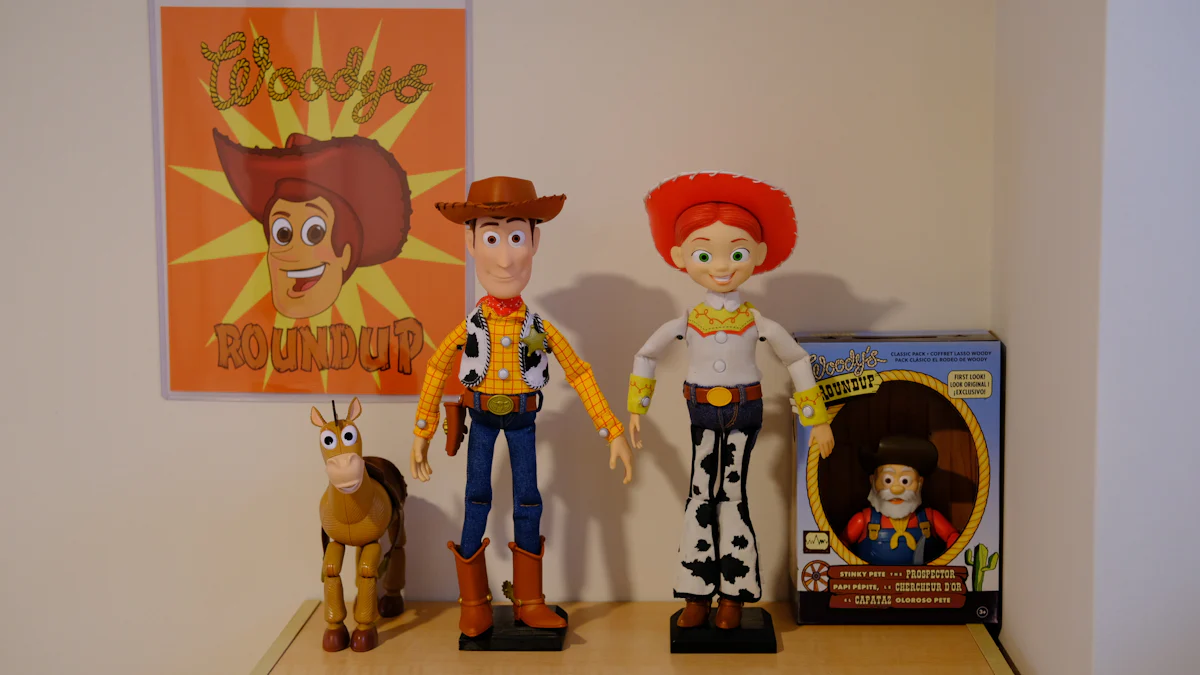
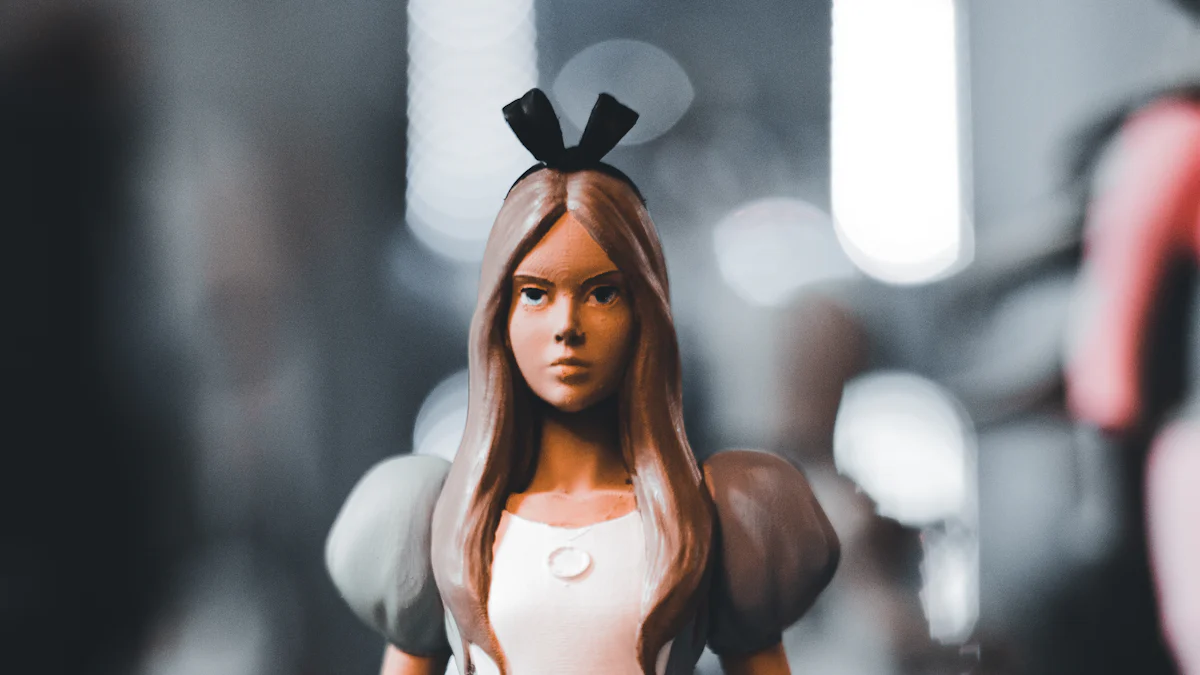
How to Create Custom Figurines from Your Photos
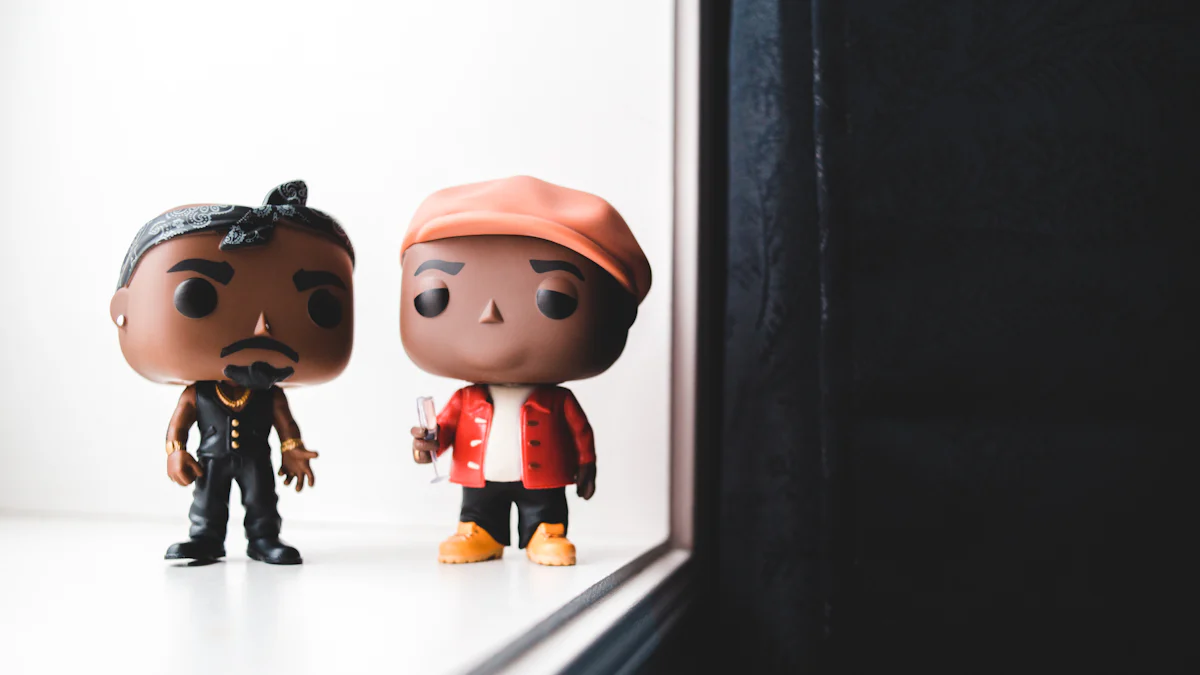
Imagine turning your favorite photos into custom figurines that you can hold in your hand. With the magic of 3D modeling and printing, you can bring your memories to life. This process lets you create lifelike models from simple 2D images. You’ll discover how to use essential tools and techniques to capture every detail. Whether it's a cherished family portrait or a beloved pet, you can transform these moments into tangible keepsakes. Dive into this creative journey and see your photos take on a whole new dimension.
Key Takeaways
-
Capture high-quality photos using a good camera and proper lighting to ensure your figurine reflects the details of your subject.
-
Choose user-friendly 3D modeling software that suits your skill level, and familiarize yourself with its features to create realistic models.
-
Select the right 3D printer and materials, such as resin for detailed work, to achieve the best results for your custom figurines.
-
Follow a step-by-step process: take the perfect photo, create a 3D model, and prepare your printer for a successful print.
-
Enhance your figurine with post-processing techniques like sanding and painting to add a polished finish and personal touch.
-
Be prepared to troubleshoot common issues in modeling and printing to improve your skills and ensure a smooth creation process.
-
Enjoy the creative journey of transforming your favorite memories into tangible keepsakes that you can cherish for years to come.
Essential Tools and Software for Custom Figurines
Creating custom figurines from your photos requires the right tools and software. Let's dive into what you'll need to get started.
Photography Equipment
Choosing the Right Camera
To capture the best images for your figurines, you need a good camera. A DSLR or a high-quality smartphone camera works well. Look for features like high resolution and manual settings. These help you control the focus and exposure, ensuring your photos are sharp and detailed.
Lighting and Background Setup
Lighting plays a crucial role in photography. Use natural light or softbox lighting to avoid harsh shadows. A plain background helps keep the focus on the subject. You can use a white or neutral-colored backdrop for the best results. This setup makes it easier to create a clean 3D model later.
3D Modeling Software
Popular Software Options
Once you have your photos, you'll need 3D modeling software to transform them into digital models. CAD software is popular for this purpose. It offers the granular tools necessary for creating realistic miniatures. Some well-known options include Blender, Tinkercad, and ZBrush. Each has unique features that cater to different skill levels.
Features to Look For
When choosing software, consider its ease of use and available tutorials. Look for features like sculpting tools, texture mapping, and compatibility with various file formats. These features help you refine your model and prepare it for printing.
3D Printer and Materials
Types of 3D Printers
After modeling, it's time to print your figurine. Resin 3D printers are excellent for this task. They offer high-resolution prints, capturing even the smallest details. FDM printers are another option, suitable for larger models with less intricate details.
Recommended Materials for Figurines
The choice of material affects the look and durability of your figurine. Resin provides a smooth finish and is ideal for detailed work. PLA and ABS plastics are also popular, offering durability and ease of use. Choose a material that suits your desired finish and budget.
By equipping yourself with the right tools and software, you can create stunning custom figurines that bring your photos to life. Whether you're a beginner or an experienced creator, these essentials will guide you through the process.
Step-by-Step Process for Creating Custom Figurines
Creating custom figurines from your photos is an exciting journey. Let's break it down into simple steps to guide you through the process.
Taking the Perfect Photo
Posing and Angles
First, focus on capturing the right pose and angle. You want your subject to look natural and engaging. Experiment with different angles to find the most flattering view. A slight tilt of the head or a unique stance can add character to your figurine. Remember, the more dynamic the pose, the more lifelike your custom figurine will appear.
Ensuring High Resolution
High-resolution photos are crucial. They capture every detail, which is essential for creating a realistic 3D model. Use a camera with high megapixels and ensure the image is sharp. Avoid blurry or pixelated photos, as they can lead to a less detailed figurine. If possible, use a tripod to keep the camera steady.
Creating a 3D Model
Importing Photos into Software
Once you have the perfect photo, it's time to import it into your chosen 3D modeling software. Programs like Blender or Tinkercad allow you to upload images and start the modeling process. Follow the software's instructions to ensure your photo is correctly aligned and ready for editing.
Adjusting and Refining the Model
Now, refine your model. Use the software's tools to sculpt and adjust the features. Pay attention to details like facial expressions and clothing textures. This step requires patience and precision. Collaborate with artists or sculptors if needed. Their expertise can help you achieve a more polished result.
Printing the Figurine
Preparing the 3D Printer
Before printing, prepare your 3D printer. Ensure it is clean and calibrated. Choose the right settings based on the material you plan to use. Resin printers are great for detailed work, while FDM printers suit larger models. Check the manufacturer's guidelines for optimal results.
Printing and Troubleshooting
Start the printing process and monitor it closely. Sometimes, issues like layer shifting or incomplete prints occur. If you encounter problems, consult troubleshooting guides or forums. Many enthusiasts share tips and solutions online. With persistence, you'll soon hold your custom figurine in your hands.
Creating custom figurines is a rewarding hobby. By following these steps, you can transform your favorite photos into tangible memories. Enjoy the process and let your creativity shine.
Photo Preparation Tips for Custom Figurines
Creating custom figurines starts with preparing your photos effectively. Let's explore some tips to ensure your images are ready for the transformation.
Editing Photos for Best Results
Cropping and Resizing
First, focus on cropping and resizing your photos. You want to remove any unnecessary background elements. This keeps the focus on your subject. Use photo editing software to crop the image tightly around the person or object. Resizing is also important. Make sure your photo fits the dimensions required by your 3D modeling software. This step helps maintain the quality of the image.
Enhancing Colors and Details
Next, enhance the colors and details in your photos. Adjust the brightness and contrast to make the image pop. You can use filters to bring out specific features. Sharpen the image to highlight fine details like facial features or textures. These enhancements ensure your custom figurine captures every nuance of the original photo.
Ensuring Consistency Across Photos
Matching Lighting and Angles
Consistency is key when working with multiple photos. Match the lighting and angles across all images. This creates a uniform look. Use similar lighting conditions for each photo. Natural light works best. Keep the camera angle consistent to avoid distortion. This uniformity helps in creating a cohesive 3D model.
Using Reference Points
Finally, use reference points to maintain consistency. Choose specific features in your photos as guides. These could be the eyes, nose, or any distinct mark. Align these points in each image. This technique ensures that your custom figurine looks accurate and lifelike. Reference points act as anchors, helping you achieve precision in your 3D model.
By following these photo preparation tips, you set a strong foundation for creating stunning custom figurines. Your attention to detail in this stage will reflect in the final product, making your memories come alive in a tangible form.
3D Modeling Techniques for Custom Figurines
Creating custom figurines from your photos involves mastering some essential 3D modeling techniques. Let's explore the skills and methods you'll need to bring your images to life.
Basic Modeling Skills
Understanding 3D Space
First, grasp the concept of 3D space. Imagine a digital canvas where you can move objects in three dimensions: up and down, left and right, and forward and backward. This understanding helps you position and scale your model accurately. Think of it like sculpting clay, but in a virtual environment. Familiarize yourself with the software's interface to navigate this space effectively.
Manipulating Shapes and Textures
Next, learn how to manipulate shapes and textures. Start with basic shapes like cubes and spheres. Use tools to stretch, rotate, and combine them into more complex forms. Texturing adds realism to your model. Apply different materials to mimic skin, fabric, or metal. Experiment with these tools to create a lifelike representation of your photo.
Advanced Techniques
Adding Fine Details
Once you're comfortable with basic shapes, focus on adding fine details. This step transforms a simple model into a detailed figurine. Use sculpting tools to carve intricate features like facial expressions or clothing folds. Pay attention to small elements that make your figurine unique. Precision is key here, so take your time to refine each detail.
Using Plugins and Extensions
Finally, enhance your modeling process with plugins and extensions. These add-ons expand your software's capabilities. They offer specialized tools for tasks like hair simulation or advanced texturing. Explore different options to find what suits your project best. Many plugins streamline complex processes, making it easier to achieve professional results.
3D modeling is an exciting journey that combines creativity and technology. By mastering these techniques, you can create stunning custom figurines that capture the essence of your photos. Dive into the world of 3D modeling and watch your ideas come to life.
Printing and Finishing Touches for Custom Figurines
Once you've printed your custom figurine, it's time to add those finishing touches that make it truly stand out. This involves post-processing and painting, which enhance the figurine's appearance and durability.
Post-Processing the Figurine
Sanding and Smoothing
After printing, your figurine might have some rough edges or visible layer lines. You can smooth these out by sanding. Start with a coarse sandpaper to remove larger imperfections, then switch to a finer grit for a smooth finish. Be gentle to avoid damaging delicate details. Sanding not only improves the look but also prepares the surface for painting.
Assembling Parts
If your figurine consists of multiple parts, you'll need to assemble them. Use a strong adhesive suitable for the material of your figurine. Align the pieces carefully to ensure a seamless fit. Once assembled, check for any gaps or misalignments and make necessary adjustments. This step ensures your figurine looks cohesive and ready for the next stage.
Painting and Sealing
Choosing the Right Paints
Painting brings your figurine to life. Choose paints that adhere well to the material. Acrylic craft paints are popular for their vibrant colors and ease of use. They allow you to experiment with different techniques like dry brushing or layering to add depth and texture. Keep in mind that the complexity of your design and the number of colors will affect the overall look.
Applying a Protective Seal
To protect your painted figurine, apply a clear sealant. This not only enhances the colors but also adds durability. Krylon and Rustoleum offer clear spray paints that work well for this purpose. A protective seal prevents chipping and scuffing, ensuring your figurine remains in pristine condition. Apply the sealant in thin, even coats for the best results.
By following these steps, you can transform your printed model into a polished and vibrant custom figurine. Enjoy the process of adding your personal touch and watch your creation come to life with every detail.
Troubleshooting Common Issues with Custom Figurines
Creating custom figurines can be a rewarding experience, but sometimes things don't go as planned. Let's tackle some common issues you might face and how to solve them.
Problems with 3D Modeling
Fixing Distorted Models
You might notice that your 3D model looks distorted or doesn't match the original photo. This often happens due to incorrect scaling or alignment during the modeling process. To fix this, double-check the dimensions and ensure that your model aligns correctly with the reference image. Use the software's grid and alignment tools to adjust the model. If you're still having trouble, consider using a reference model or template to guide your adjustments.
Handling Software Crashes
Software crashes can be frustrating, especially when you're in the middle of a project. To minimize the risk, save your work frequently. Most 3D modeling software offers an auto-save feature—make sure it's enabled. If your software crashes often, check for updates or patches that might fix bugs. You can also try reducing the complexity of your model by simplifying shapes or textures, which can help the software run more smoothly.
Printing Challenges
Resolving Print Failures
Print failures can occur for various reasons, such as incorrect printer settings or material issues. Start by checking the printer's calibration. Ensure the bed is level and the nozzle is clean. Adjust the print speed and temperature settings according to the material you're using. If the print still fails, examine the model for any errors or unsupported areas that might need additional support structures.
Dealing with Material Issues
Material issues can affect the quality and durability of your figurine. If you notice warping or cracking, it might be due to the material's properties or environmental factors like humidity. Store your materials in a dry, cool place to prevent moisture absorption. When printing, use the recommended settings for your specific material type. If problems persist, experiment with different materials to find one that suits your needs better.
By addressing these common issues, you can improve the quality of your custom figurines and enjoy a smoother creation process. Remember, troubleshooting is part of the learning journey, and each challenge you overcome enhances your skills.
Creating custom figurines from your photos is a delightful journey. You start with a simple image and end up with a tangible keepsake. This process lets you experiment and personalize, making each figurine unique. The joy of seeing a photo come to life as a three-dimensional object is unmatched. While it requires time and effort, the result is a cherished memory you can hold. So, dive in, explore your creativity, and enjoy the magic of turning your favorite moments into custom figurines.
FAQ
What do you need from me to make my custom figure?
To create your custom figurine, you'll need to provide a high-resolution photo. Make sure the image captures the details you want in your figurine. A clear, well-lit photo helps in creating a more accurate 3D model. If you have specific preferences for poses or features, let us know. Your input ensures the final product matches your vision.
How long does it take to create a custom figurine?
The time it takes to create a custom figurine varies. Typically, the process can take anywhere from a few days to a couple of weeks. Factors like the complexity of the design and the current workload can affect the timeline. We strive to deliver your figurine as quickly as possible without compromising quality.
Can I choose the material for my figurine?
Yes, you can choose the material for your figurine. Common options include resin, PLA, and ABS plastics. Each material offers different benefits. Resin provides a smooth finish, while PLA and ABS offer durability. Consider your preferences for appearance and durability when selecting a material.
Is it possible to make changes to the figurine after it's printed?
Making changes to a figurine after printing is challenging. It's best to finalize all details during the modeling phase. If you notice any issues with the printed figurine, contact us. We can discuss possible solutions or adjustments.
What should I do if my figurine arrives damaged?
If your figurine arrives damaged, please reach out to us immediately. We will assess the situation and provide a solution, whether it's a replacement or repair. Your satisfaction is our priority, and we aim to resolve any issues promptly.
Can I paint my figurine myself?
Absolutely! You can paint your figurine to add a personal touch. Use acrylic paints for the best results. They adhere well to most materials and offer vibrant colors. Remember to apply a protective sealant after painting to preserve your work.
Are there any size limitations for custom figurines?
Yes, there are size limitations for custom figurines. The maximum size depends on the capabilities of the 3D printer used. Larger figurines may require additional processing time and materials. If you have a specific size in mind, let us know, and we'll do our best to accommodate your request.
How do I care for my custom figurine?
Caring for your custom figurine is simple. Keep it away from direct sunlight and moisture to prevent fading or damage. Dust it gently with a soft cloth to maintain its appearance. If your figurine has moving parts, handle them with care to avoid breakage.
Can I order multiple figurines at once?
Yes, you can order multiple figurines at once. Whether you're creating a set or need duplicates, we can accommodate bulk orders. Contact us for details on pricing and production timelines for larger orders.
What if I'm not satisfied with the final product?
If you're not satisfied with the final product, please let us know. We value your feedback and will work with you to address any concerns. Our goal is to ensure you are happy with your custom figurine and the overall experience.
See Also
Crafting Unique Figurines Tailored Just for You
Building Your Very Own Customized Action Figures
Comprehensive Guide to Personalizing Roblox Characters


