How to Create Custom 3D Printed Figures at Home
Creating custom 3D printed figures at home is an exciting journey into the world of modern technology. You can bring your unique designs to life with just a few essential tools and materials. The global 3D printing market is booming, expected to reach $41 billion by 2026. This growth reflects the increasing accessibility and popularity of 3D printing. Whether you're a hobbyist or a budding designer, you'll find that mastering this craft offers endless possibilities. Dive into the process, and you'll discover tips and tricks to achieve high-quality results in your projects.
Key Takeaways
-
Start your 3D printing journey with user-friendly software like TinkerCAD to design simple models before progressing to more complex tools.
-
Choose the right filament based on your project's needs; PLA is great for beginners, while ABS and PETG offer durability for functional parts.
-
Prepare your 3D printer properly by leveling the build plate and setting the correct temperature for the filament to ensure successful prints.
-
Post-processing is essential; remove supports, sand rough edges, and paint your figures to enhance their appearance and detail.
-
Regularly maintain your printer by cleaning components and calibrating settings to achieve consistent, high-quality prints.
-
Experiment with different materials and techniques to discover what works best for your creative projects and personal style.
-
Embrace the learning process; don't be discouraged by failures, as they are opportunities to improve your skills and techniques.
Understanding 3D Printing Technology
Basics of 3D Printing
3D printing, also known as additive manufacturing, is a fascinating process where you create objects layer by layer. Imagine building a structure with LEGO bricks, but instead of bricks, you use materials like plastic or resin. This technology allows you to transform digital designs into tangible objects. You start with a digital file, often in STL format, which serves as the blueprint for your creation. The printer reads this file and begins constructing the object from the bottom up.
The beauty of 3D printing lies in its versatility. You can make anything from simple toys to complex mechanical parts. The key is understanding how the printer works and what it needs to function properly. Most home 3D printers use Fused Deposition Modeling (FDM) technology. This method involves melting a plastic filament and depositing it layer by layer to form the final object. It's a bit like squeezing toothpaste from a tube, but with much more precision.
Software and Tools
To bring your ideas to life, you'll need the right software and tools. TinkerCAD is a fantastic starting point for beginners. It's a web-based application owned by Autodesk, making it easily accessible. With its user-friendly interface, you can quickly design simple models without any prior experience.
For those looking to dive deeper, Fusion 360 offers powerful 3D modeling capabilities. It's popular among enthusiasts for its robust features and flexibility. If you're more inclined towards programming, OpenSCAD might be your go-to tool. It's known as the programmer’s solid 3D CAD modeler, allowing you to create models using code.
Once you've designed your model, you'll need a slicer to prepare it for printing. Ultimaker Cura is the most popular open-source slicer for FDM printers. It converts your 3D model into instructions that the printer can understand. While it may lack some detailed controls, its unified slicer and host functionality make it highly useful for quick and easy 3D printing.
Designing Your 3D Model
Creating custom 3D printed figures starts with a solid design. This phase is where your creativity truly shines. You get to imagine and plan what your figure will look like. Let's break down the process into manageable steps.
Conceptualizing Your Design
Before you dive into the technical aspects, take a moment to visualize your idea. What do you want your figure to represent? Is it a character from your favorite story or a unique creation from your imagination? Sketching your concept on paper can help solidify your vision. This step doesn't require artistic skills; it's about capturing the essence of your idea.
Fictiv, a leader in 3D printing and design, emphasizes the importance of this initial stage. They note that while designing 3D models can be thrilling, it might also feel overwhelming. To ease this, start simple. Focus on the basic shapes and features of your figure. As you gain confidence, you can add more details and complexity.
Creating the 3D Model
Once you have a clear concept, it's time to bring it to life digitally. You'll use 3D modeling software for this task. TinkerCAD is a great choice for beginners. Its intuitive interface allows you to create basic models quickly. You can drag and drop shapes, resize them, and combine them to form your figure.
For more intricate designs, consider using Fusion 360. This software offers advanced tools for detailed modeling. It lets you refine your design with precision, ensuring every aspect of your figure meets your expectations.
As you work on your model, remember to save your progress frequently. This habit prevents losing your hard work due to unexpected software crashes. Once your model is complete, export it as an STL file. This format is compatible with most 3D printers and serves as the blueprint for your custom 3D printed figures.
Designing your model is a rewarding experience. It allows you to transform your ideas into a digital form, ready for printing. With practice, you'll find this process becomes more intuitive and enjoyable.
Choosing the Right Materials
Selecting the right materials is crucial when creating custom 3D printed figures. The material you choose affects the strength, flexibility, and appearance of your final product. Let's explore some popular filament options and what you should consider when making your choice.
Types of Filaments
-
Polylactic Acid (PLA): PLA is one of the most popular filaments for 3D printing. It's easy to use and environmentally friendly since it's made from renewable resources like corn starch. PLA is perfect for beginners due to its low melting temperature and minimal warping. However, it might not be the best choice for objects that need to withstand high temperatures or stress.
-
Acrylonitrile Butadiene Styrene (ABS): If you need a strong and durable material, ABS is a great option. It's known for its toughness and impact resistance, making it ideal for functional parts. ABS can handle heat and everyday chemicals well, but it requires a heated bed to prevent warping during printing.
-
Polyethylene Terephthalate-Glycol (PETG): PETG combines the best of both PLA and ABS. It offers excellent strength and impact resistance while being easier to print than ABS. PETG is also food-safe, making it suitable for kitchen items.
-
Flexible Filaments: These filaments are designed for prints that require elasticity. They're perfect for creating items like phone cases or wearable gadgets. Flexible filaments can be tricky to print, so patience and practice are key.
-
Carbon Fiber Filaments: Infused with tiny carbon fibers, these filaments provide increased strength and stiffness. They're ideal for lightweight yet strong parts, such as drone components or RC car parts.
-
ApolloX (ASA): ASA filaments are excellent for outdoor applications due to their UV and weather resistance. They offer high strength and heat resistance, making them suitable for automotive parts.
Material Considerations
When choosing a filament, consider the following factors:
-
Purpose: Determine what your custom 3D printed figures will be used for. If they're decorative, PLA might suffice. For functional parts, ABS or PETG could be better choices.
-
Environment: Think about where the figures will be used. For outdoor applications, ASA's UV resistance makes it a top pick.
-
Printer Compatibility: Ensure your printer can handle the filament type. Some materials require specific temperatures or a heated bed.
-
Finish and Detail: Different filaments offer varying levels of detail and finish. PLA provides a smooth finish, while ABS can be sanded and painted for a polished look.
By understanding the properties of each filament, you can make informed decisions that enhance the quality and functionality of your custom 3D printed figures. Experimenting with different materials will also help you discover which ones best suit your projects.
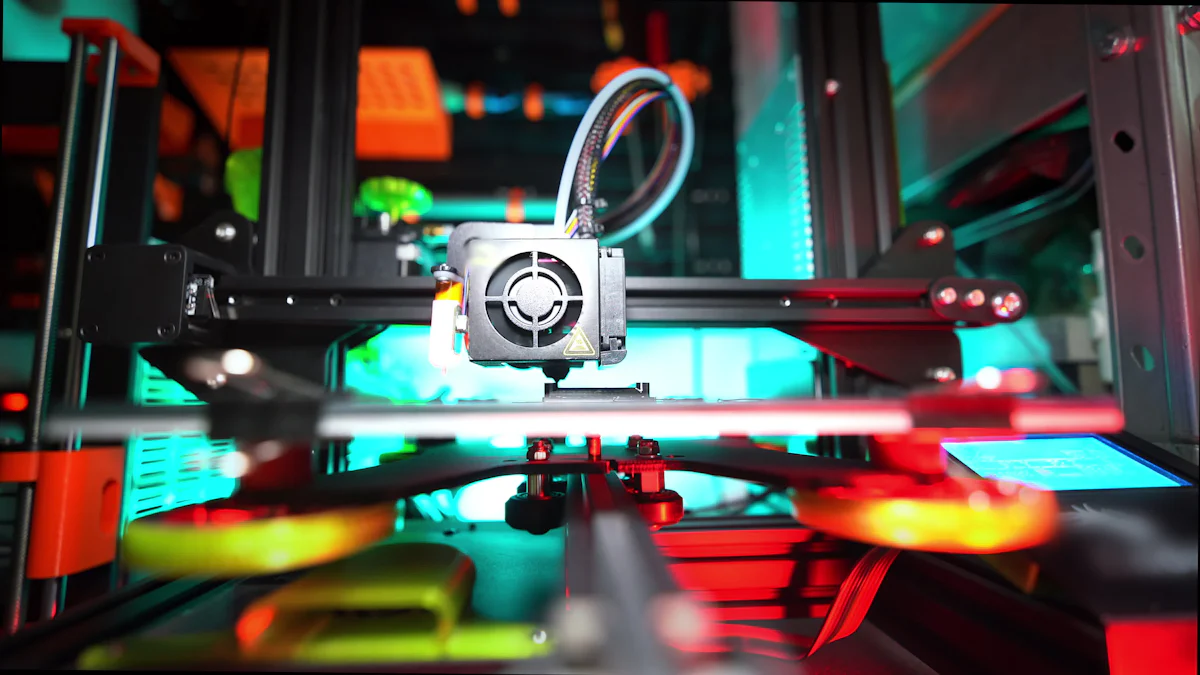
The Printing Process
Preparing Your Printer
Before you hit the print button, you need to prepare your 3D printer. This step ensures that your custom figure comes out just right. Start by checking the printer's components. Make sure the build plate is clean and level. A level build plate is crucial for a successful print. If it's not level, your model might not stick properly, leading to a failed print.
Next, load the filament into the printer. Follow the manufacturer's instructions for this process. Ensure the filament feeds smoothly into the extruder. If you encounter resistance, check for any blockages or tangles in the filament spool.
Set the correct temperature for your filament type. PLA usually requires a lower temperature than ABS or PETG. Refer to the filament packaging for the recommended settings. Adjust the printer's settings accordingly.
Finally, perform a test print. A small calibration cube works well for this purpose. It helps you verify that the printer is functioning correctly. If the test print looks good, you're ready to move on to printing your model.
Printing Your Model
With your printer prepared, it's time to bring your digital design to life. Start by loading your STL file into the slicing software. Ultimaker Cura is a popular choice for this task. It converts your 3D model into a series of instructions for the printer.
Adjust the print settings to match your project's requirements. Consider the layer height, print speed, and infill density. A smaller layer height results in finer details but increases print time. Balance these factors based on your figure's complexity and desired quality.
Once satisfied with the settings, save the sliced file to an SD card or send it directly to the printer if it supports wireless connectivity. Begin the printing process and monitor the first few layers closely. This stage is critical for ensuring proper adhesion to the build plate.
As the print progresses, keep an eye on the printer. Look for any signs of issues, such as filament jams or layer shifting. Address these problems promptly to avoid ruining your model.
Printing can take several hours, depending on the size and complexity of your figure. Use this time to plan your next steps, like post-processing or painting. When the print finishes, let it cool before removing it from the build plate. This precaution prevents warping or damage to your freshly printed figure.
By following these steps, you'll set yourself up for success in creating custom 3D printed figures. With practice, you'll gain confidence in managing the printing process and producing high-quality results.
Post-Processing and Finishing Touches
After printing your custom 3D figure, the journey doesn't end. Post-processing transforms your print from a raw model into a polished masterpiece. This stage involves removing supports, cleaning, and adding those final artistic touches.
Removing Supports and Cleaning
Supports play a crucial role in 3D printing, especially for complex designs. They hold up overhanging parts during the print. Once your model is complete, you need to remove these supports carefully. Use tools like pliers or tweezers for this task. Gently wiggle the supports until they detach from the model. Avoid applying too much force to prevent damaging your figure.
After removing the supports, clean the model. Sandpaper works well for smoothing rough edges. Start with a coarse grit and gradually move to finer grits for a polished finish. If you printed with ABS filament, consider using acetone for a glossy effect. Acetone vapor smoothing can enhance the surface quality, giving your model a professional look.
Painting and Detailing
Painting breathes life into your 3D printed figures. Before you start, ensure the model is clean and free of dust. Apply a primer to help the paint adhere better. Choose acrylic paints for their versatility and ease of use. They dry quickly and offer a wide range of colors.
Begin with a base coat. Use a brush or airbrush for even coverage. Let each layer dry before applying the next. For intricate details, use fine brushes. Highlight features like eyes, clothing, or accessories to add depth and character.
Experiment with different techniques to achieve realistic effects. Dry brushing can create texture, while washes add shadows and depth. Pay attention to lighting and material properties. Shadows, reflections, and textures can greatly enhance realism.
Finally, seal your painted figure with a clear coat. This step protects the paint and adds a finishing touch. Choose a matte or glossy finish based on your preference.
By following these steps, you'll elevate your custom 3D printed figures to new heights. Post-processing and detailing allow you to express creativity and bring your designs to life. Enjoy the process and take pride in your unique creations!
Tips for Best Results
Optimizing Print Settings
Getting the best results from your 3D printer often comes down to fine-tuning your print settings. You want to start by adjusting the layer height. A smaller layer height gives you finer details, but it also increases print time. Balance is key here. If you're printing a detailed figure, go for a smaller layer height. For simpler designs, a larger height works just fine.
Next, consider the print speed. Carbon Fiber Infused Filaments might need slower speeds for optimal results. Slowing down the print speed can improve the quality of your prints, especially with complex materials. Keep an eye on the infill percentage too. A 20% infill or higher is recommended for post-processing, ensuring your model has enough strength and stability.
Temperature settings are crucial. Each filament type has its own ideal temperature range. For instance, PLA typically requires a heated bed temperature between 20 – 70 °C. Make sure your printer's settings match the filament's specifications to avoid issues like warping or poor adhesion.
Lastly, don't forget about the importance of reviewing your digital model's specifications. Check the file format, resolution, and any customization options before printing. This step ensures that your model is ready for a successful print.
Maintaining Your 3D Printer
Keeping your 3D printer in top shape is essential for consistent, high-quality prints. Start by regularly cleaning the build plate. Dust and debris can affect adhesion, leading to failed prints. Use a soft cloth and isopropyl alcohol to wipe it down after each use.
Check the printer's components frequently. Look for signs of wear and tear, especially on the extruder and nozzle. A clogged nozzle can ruin your print, so clean it regularly. You can use a small needle or specialized cleaning filament to clear any blockages.
Lubricate the moving parts of your printer. This includes the rods and bearings. Proper lubrication reduces friction and extends the life of your machine. Follow the manufacturer's guidelines for the best results.
Calibrate your printer often. A well-calibrated printer ensures accurate prints. Pay attention to the leveling of the build plate and the alignment of the axes. Regular calibration keeps your printer running smoothly and prevents issues down the line.
By optimizing your print settings and maintaining your 3D printer, you'll achieve the best possible results. These practices not only enhance the quality of your prints but also prolong the life of your equipment. Happy printing!
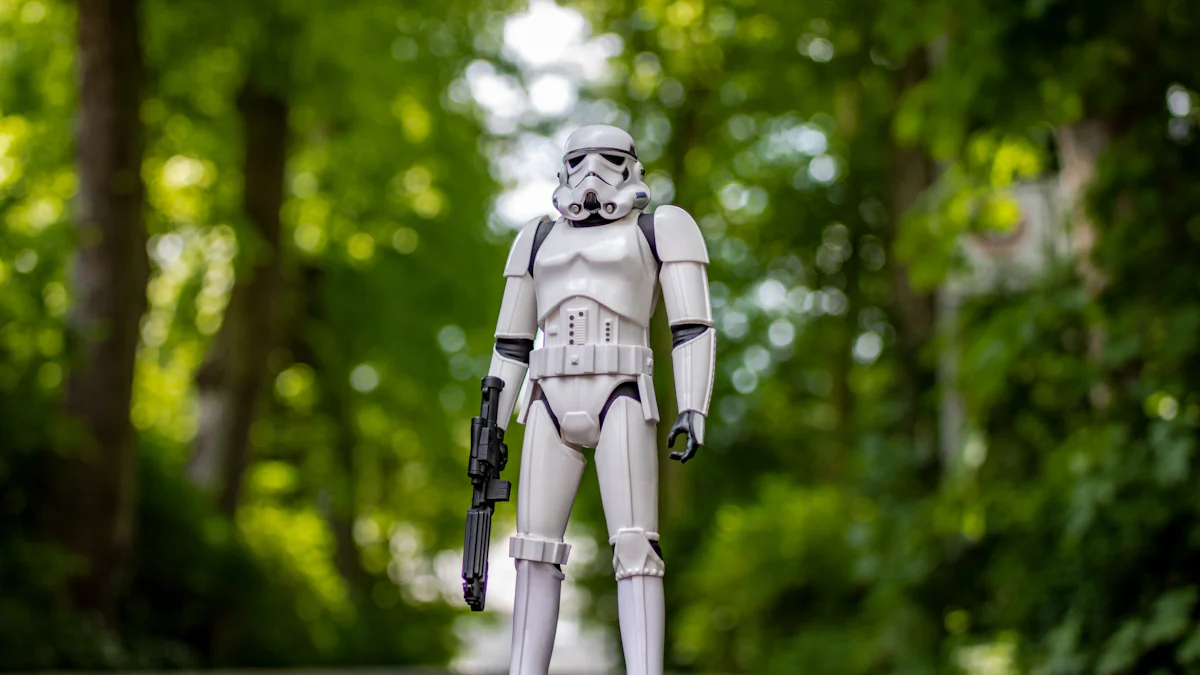
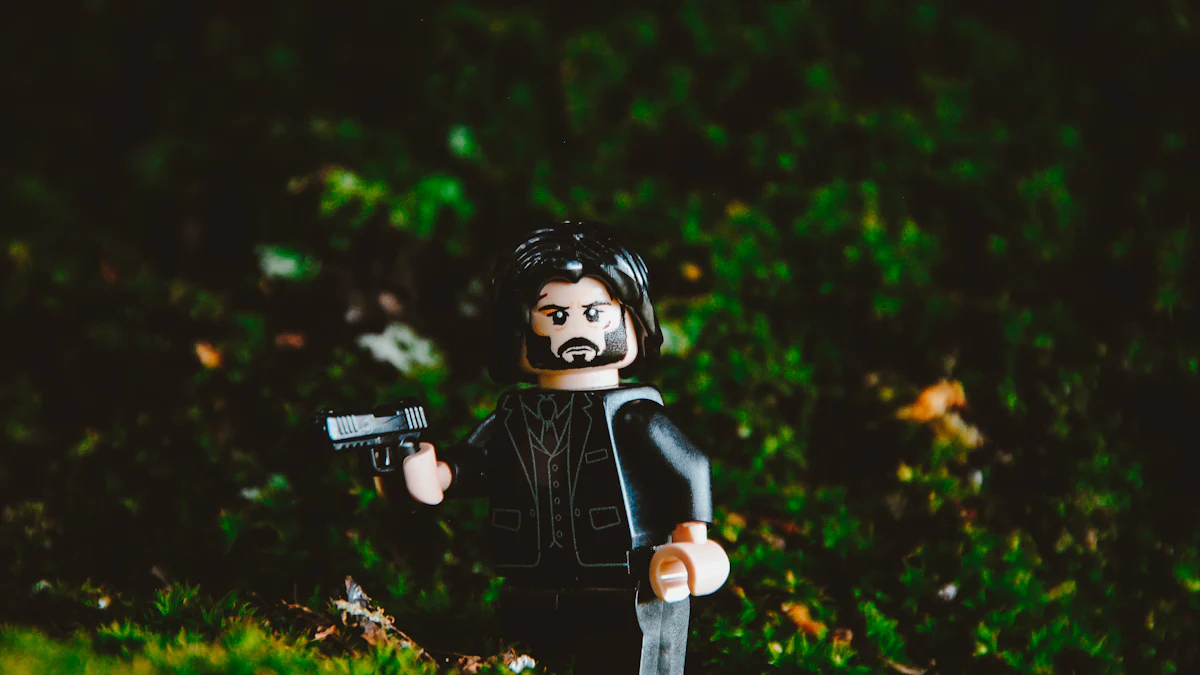
Creating custom 3D printed figures at home is a rewarding journey. You start with an idea, design it digitally, and watch it come to life layer by layer. This process not only enhances your creativity but also allows you to experiment with different materials and techniques. Imagine the joy of holding a figure that you designed yourself! The possibilities are endless, whether you're crafting a personal keepsake or a unique gift. Dive into this exciting world and let your imagination run wild. Your creations will reflect your personal touch and bring your designs to life.
FAQ
What are the most asked questions about 3D printing?
3D printing is a fascinating field, and many people have questions about it. Here are some of the most frequently asked questions that can help you understand this technology better.
How do I start with 3D printing at home?
To begin 3D printing at home, you'll need a 3D printer, filament, and design software. Start by choosing a beginner-friendly printer and software like TinkerCAD. Practice with simple designs and gradually move to more complex projects as you gain confidence.
What types of materials can I use for 3D printing?
You can use various materials for 3D printing, including PLA, ABS, PETG, and flexible filaments. Each material has unique properties, so choose based on your project's requirements. For example, PLA is great for beginners, while ABS offers more durability.
How can I improve the quality of my 3D prints?
Improving print quality involves optimizing settings like layer height, print speed, and temperature. Regular maintenance of your printer, such as cleaning the nozzle and leveling the build plate, also plays a crucial role in achieving high-quality prints.
What measures can be taken to minimize print defects caused by filament inconsistencies?
To minimize print defects from filament inconsistencies, store your filament properly to prevent moisture absorption. Use a filament dryer if necessary. Regularly check for tangles or knots in the spool and ensure the filament feeds smoothly into the printer.
Can I create my own 3D models without prior experience?
Yes, you can create your own 3D models even if you're a beginner. Start with user-friendly software like TinkerCAD, which offers tutorials and a simple interface. As you become more comfortable, explore advanced tools like Fusion 360 for detailed designs.
How long does it take to print a 3D model?
The time it takes to print a 3D model depends on its size, complexity, and the printer's settings. Small, simple models might take a few hours, while larger, intricate designs could require several days. Adjusting layer height and print speed can influence the duration.
Is 3D printing safe to do at home?
3D printing is generally safe at home if you follow safety guidelines. Ensure proper ventilation, especially when using materials like ABS that emit fumes. Keep the printer away from flammable materials and supervise it during operation to prevent accidents.
What should I do if my 3D print fails?
If your 3D print fails, don't worry—it's part of the learning process. Analyze the failure to identify the cause, such as poor adhesion or incorrect settings. Make necessary adjustments and try again. Over time, you'll gain experience and reduce the likelihood of failures.
Can I paint my 3D printed figures?
Yes, you can paint your 3D printed figures to enhance their appearance. Use acrylic paints for best results. Start with a primer to help the paint adhere, then apply base coats and details. Finish with a clear coat to protect your work and achieve the desired finish.
See Also
Crafting Unique Figurines: A Complete Design Guide
Building Custom Action Figures: A Personal Touch
Roblox Figure Customization: A Detailed Step-by-Step


