Step-by-Step Guide to 3D Printing Your Roblox Avatar
Imagine holding your digital Roblox avatar in your hands as a real, tangible object. Thanks to the wonders of 3D printing, you can make this dream a reality. This revolutionary technology lets you transform your virtual character into a physical figure. You don't need to be a tech wizard to do it. With the right tools and a bit of guidance, you can create your own 3D printed Roblox avatar. It's a fun and rewarding process that brings your favorite game characters to life in a whole new way.
Key Takeaways
-
Gather essential tools: You'll need a 3D printer, a reliable computer, and software like Roblox Studio, Blender, and slicing software to start your 3D printing journey.
-
Customize your avatar: Use Roblox Studio to modify your avatar's appearance, ensuring it reflects your personal style before exporting it for printing.
-
Refine your model: Import your exported OBJ file into 3D editing software to clean up imperfections and add details, enhancing the quality of your final print.
-
Prepare for printing: Use slicing software to set print parameters like layer height and infill density, which are crucial for achieving a successful print.
-
Monitor the printing process: Keep an eye on the initial layers and make adjustments as needed to ensure your model adheres well and prints correctly.
-
Troubleshoot effectively: Be prepared to address common issues like print quality and model stability by adjusting settings and ensuring proper support structures.
-
Enjoy the process: Embrace the creativity and satisfaction of bringing your digital avatar to life as a tangible object through 3D printing.
Essential Tools and Software for 3D Printing Roblox Avatars
To bring your Roblox avatar into the real world, you'll need some essential tools and software. Let's dive into what you'll need to get started.
Required Hardware
3D Printer
A 3D printer is your primary tool for turning digital designs into physical objects. You don't need the most expensive model, but ensure it can handle the size and detail of your avatar. Look for a printer that supports the materials you want to use, like PLA or ABS, which are common in 3D printing.
Computer
You'll also need a computer to run the necessary software. It doesn't have to be a high-end machine, but it should be capable of handling 3D modeling and slicing software. A reliable computer ensures smooth operation and prevents frustrating crashes during the design process.
Necessary Software
Roblox Studio
Start with Roblox Studio, the platform's official tool for creating and customizing avatars. It's user-friendly and allows you to export your avatar as an OBJ file, which is crucial for 3D printing. Make sure you have the latest version installed to access all features.
3D Editing Software (e.g., Blender, Maya)
Next, you'll need 3D editing software like Blender or Maya. These programs let you refine your avatar's model, clean up any imperfections, and add extra details. They offer powerful tools for sculpting and modifying your design, ensuring your 3D printed Roblox avatar looks just right.
Slicing Software (e.g., Ultimaker Cura)
Finally, use slicing software such as Ultimaker Cura. This software converts your 3D model into instructions your printer can understand, known as G-code. It helps you set print parameters like layer height and infill density, optimizing the print for quality and speed.
With these tools and software, you're well-equipped to start your 3D printing journey. Each component plays a vital role in transforming your virtual avatar into a tangible figure you can hold and display.
Creating and Exporting Your Avatar from Roblox Studio
Ready to bring your Roblox avatar into the real world? Let's start by creating and exporting your avatar from Roblox Studio. This step is crucial for turning your digital character into a 3D printed masterpiece.
Accessing Roblox Studio
First things first, you need to access Roblox Studio. If you haven't installed it yet, head over to the Roblox website and download the software. Once installed, open Roblox Studio and log in with your Roblox account. You'll find a user-friendly interface that makes it easy to navigate and customize your avatar.
Customizing Your Avatar
Now comes the fun part—customizing your avatar! In Roblox Studio, you can modify your avatar's appearance to your heart's content. Change hairstyles, swap outfits, and add accessories. You can even tweak colors to match your personal style. This customization process allows you to create a unique avatar that truly represents you. Remember, the more detailed your avatar, the more impressive your 3D printed Roblox figure will be.
Exporting the Model as an OBJ File
Once you're satisfied with your avatar's look, it's time to export it. Roblox Studio allows you to export your avatar as an OBJ file, which is essential for 3D printing. To do this, select your avatar in the workspace, then navigate to the "File" menu and choose "Export Selection." Save the file in a location you'll remember. This OBJ file contains all the geometry, textures, and materials needed for the next steps in the 3D printing process.
With your avatar exported, you're one step closer to holding your 3D printed Roblox character in your hands. This process transforms your virtual creation into a tangible object, ready for further refinement and printing.
Refining the Model with 3D Editing Software
Once you've exported your Roblox avatar, it's time to refine it using 3D editing software like Blender or Maya. This step is crucial for enhancing the quality and detail of your model, ensuring your 3D printed Roblox avatar looks fantastic.
Importing the Model into Blender or Maya
First, open your chosen 3D editing software. Import the OBJ file you exported from Roblox Studio. This process is straightforward. In Blender, for example, you simply go to File > Import > Wavefront (.obj) and select your file. The model will appear in the workspace, ready for refinement.
Cleaning Up the Model
Now, let's clean up the model. This involves removing any unnecessary elements and fixing imperfections. You might notice some rough edges or extra polygons that need attention. Use the software's tools to smooth surfaces and simplify the geometry. This step ensures your model is not only visually appealing but also optimized for printing. As the 3D-Ace team suggests, refining draft models elevates their quality, making them ready for high-resolution output.
Adding Details and Adjustments
With a clean base, you can now add details and make adjustments. This is where your creativity shines. Enhance features like facial expressions or clothing textures. You can also adjust proportions to ensure stability during printing. According to experts in character modeling, focusing on details like borders and textures can significantly improve the final product. Experiment with different tools and techniques to achieve the desired look. Remember, the more detailed your model, the more impressive your 3D printed Roblox avatar will be.
By following these steps, you transform your basic model into a polished masterpiece, ready for the next stage of the 3D printing process.
Preparing the Model for Printing
You're almost ready to bring your 3D printed Roblox avatar to life. The next step involves preparing your model for printing using slicing software. This process ensures that your digital design translates perfectly into a physical object.
Importing into Slicing Software
First, you'll need to import your refined model into slicing software. Programs like Ultimaker Cura are popular choices. Open the software and select the option to import your OBJ file. Once loaded, you'll see your avatar displayed in the virtual workspace. This software will slice your model into layers, providing detailed instructions for your 3D printer. Each layer's thickness and pattern are crucial for achieving the best print quality.
Setting Up Print Parameters
Now, it's time to set up the print parameters. These settings determine how your 3D printer will execute the print job. Start by adjusting the layer height. A smaller layer height results in finer detail but takes longer to print. Next, configure the infill density. This setting affects the internal structure of your model. A higher infill density makes your print stronger but uses more material. You can also choose specific infill patterns to optimize strength and material usage. Don't forget to set the print speed and support structures. Supports are essential for overhanging parts of your model, ensuring stability during printing.
Generating the G-code
Once you've configured the print parameters, it's time to generate the G-code. This code is a set of instructions that your 3D printer follows to create your model. Click the "Slice" button in your slicing software to start this process. The software will convert your settings into G-code, detailing every movement and action your printer needs to perform. Save the G-code file to a location you can easily access. This file is the final step before you begin the exciting process of 3D printing your Roblox avatar.
By carefully preparing your model with these steps, you ensure a successful print. Each parameter you adjust plays a vital role in the quality and accuracy of your 3D printed Roblox figure. Now, you're ready to move on to the actual printing process and watch your digital creation come to life.
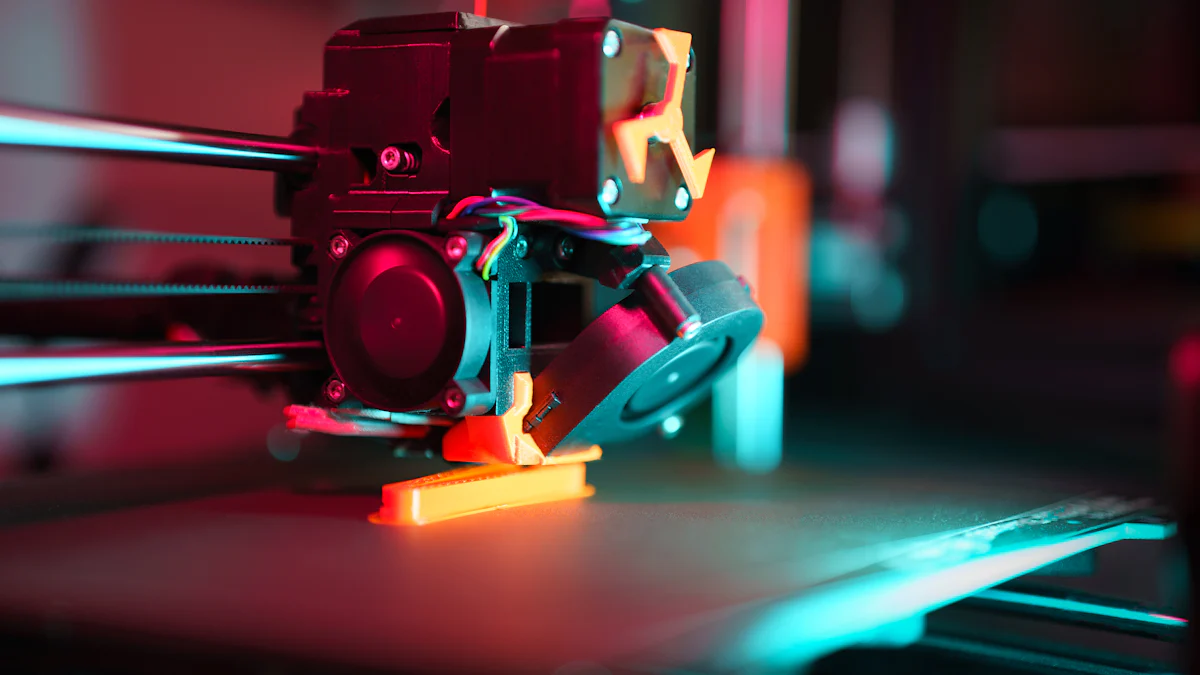
Executing the 3D Printing Process
You've prepared your model and generated the G-code. Now, it's time to bring your 3D printed Roblox avatar to life. This section will guide you through setting up your 3D printer, loading the filament, and starting the print job.
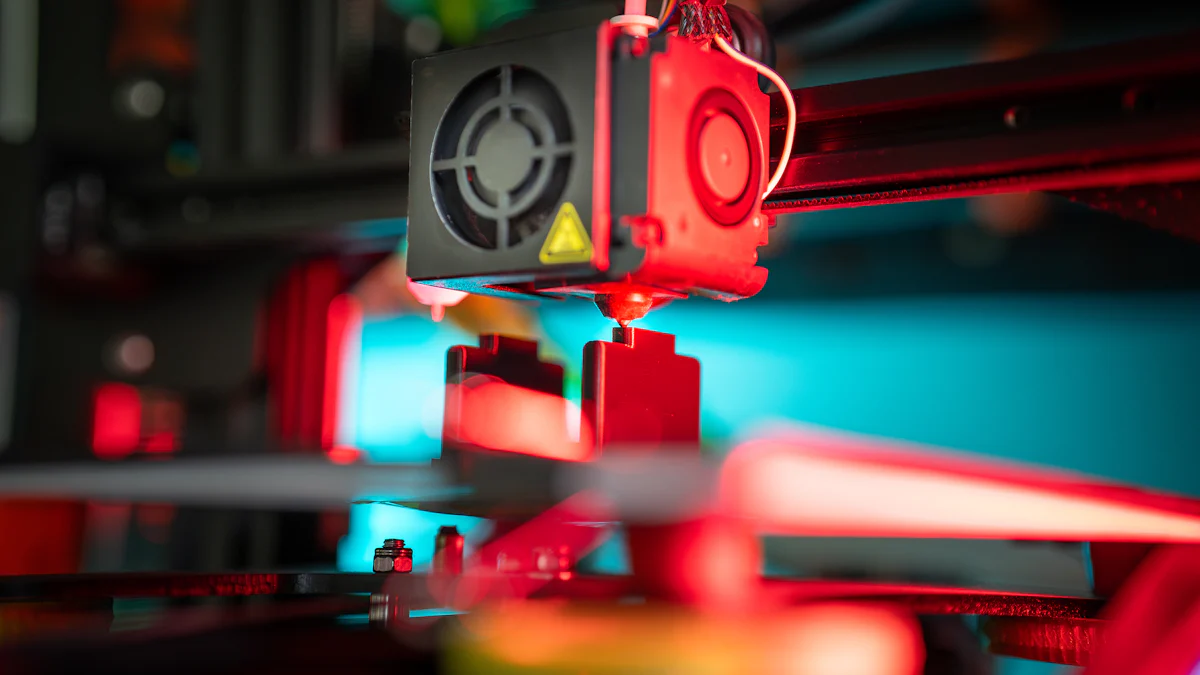
Setting Up the 3D Printer
Before you start printing, ensure your 3D printer is ready. Begin by checking that the printer bed is clean and level. A clean bed helps the first layer adhere properly, which is crucial for a successful print. Use a leveling tool if necessary to adjust the bed.
Next, connect your computer to the 3D printer. You might use software like Matter Control, which helps manage the printing process. This software allows you to scale and rotate your model if needed. Once connected, load the G-code file you generated earlier. This file contains all the instructions your printer needs to create your avatar.
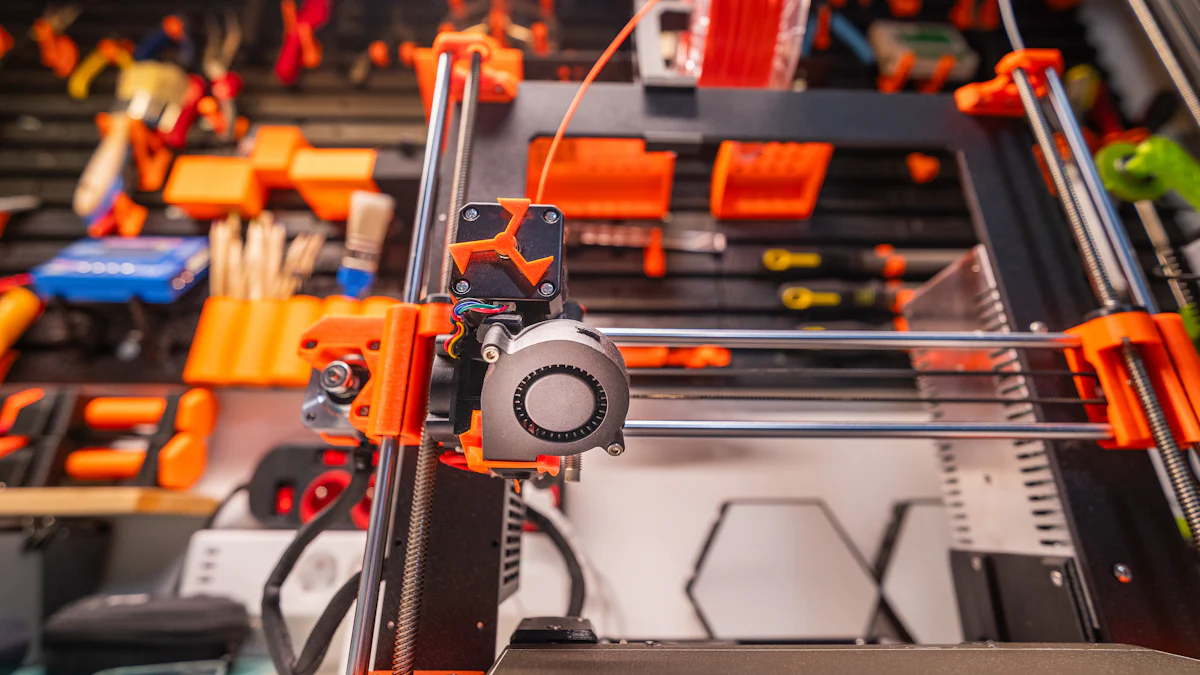
Loading the Filament
Now, let's load the filament. Choose a filament type that suits your project, such as PLA or ABS. These materials are popular for their ease of use and durability. Cut the end of the filament at an angle to make it easier to feed into the printer. Insert the filament into the extruder and push it until you feel resistance.
Activate the printer's filament loading function. This process heats the extruder and pulls the filament through. Watch as the filament begins to extrude from the nozzle. This step ensures the filament flows smoothly and is ready for printing.
Starting the Print Job
With everything set up, you're ready to start the print job. Double-check your settings in the slicing software to ensure everything is correct. Then, press the "Print" button to begin. The printer will start by laying down the first layer, which is critical for the rest of the print.
Keep an eye on the initial layers to ensure they adhere well to the bed. If you notice any issues, pause the print and make adjustments. As the print progresses, you'll see your 3D printed Roblox avatar take shape. This process can take several hours, depending on the size and complexity of your model.
Remember, patience is key. Unexpected challenges might arise, but with careful monitoring, you can address them promptly. Once the print is complete, let it cool before removing it from the bed. Congratulations! You've successfully created a tangible version of your digital avatar.
Troubleshooting Common Issues
Even with careful preparation, you might encounter some hiccups during the 3D printing process. Don't worry! Troubleshooting is a normal part of the journey. Let's tackle some common issues you might face and how to solve them.
Print Quality Problems
Print quality can sometimes be less than perfect. You might notice layers that don't stick together well or surfaces that look rough. To improve this, start by checking your printer's settings. Ensure the print bed is level. An unlevel bed can cause layers to shift, leading to poor quality. If you're unsure about leveling, refer to guides like the "Anatomy of a 3D Printer: Bed Leveling" for detailed solutions.
Another tip is to adjust the print speed. Printing too fast can lead to inaccuracies. Slow it down a bit to see if that helps. Also, check the nozzle temperature. If it's too low, the filament won't melt properly, affecting the print quality. Experiment with different temperatures to find the sweet spot for your material.
Model Stability Issues
Sometimes, your model might not stand as firmly as you'd like. This could be due to insufficient infill density. Increasing the infill percentage can add more internal support, making your model sturdier. However, be mindful that this uses more material.
Look at the support structures, too. If your model has overhangs or delicate parts, ensure you've set up adequate supports in your slicing software. These temporary structures help maintain stability during printing. Once the print is complete, you can remove them carefully.
Software Errors
Software errors can be frustrating, but they're often easy to fix. If your slicing software crashes or doesn't load your model correctly, try updating it to the latest version. Software updates often fix bugs and improve performance.
If you encounter errors when exporting your model from Roblox Studio, double-check the export settings. Ensure you're saving the file in the correct format, like OBJ, which is compatible with most 3D editing and slicing software.
Remember, troubleshooting is part of the learning process. Each challenge you overcome makes you a more skilled 3D printing enthusiast. Keep experimenting and don't hesitate to seek help from online communities or tutorials. You're not alone on this journey, and with persistence, you'll create amazing 3D printed Roblox avatars.
Creating a 3D printed Roblox avatar is an exciting journey. You get to see your digital character come to life as a tangible object. This process not only enhances your understanding of technology but also boosts your creativity. Reflecting on this experience, you might find a new appreciation for the intricate work involved in 3D printing.
"The satisfaction of holding your creation is unmatched," says many enthusiasts who have embarked on this journey.
Don't hesitate to experiment with different designs and personalize your prints. Each attempt brings new lessons and improvements. Dive into the world of 3D printing and let your imagination run wild!
FAQ
How exactly do you 3D print your Roblox avatar?
To 3D print your Roblox avatar, you first need a 3D model of it. Roblox doesn't directly allow you to download a 3D model of your avatar. However, you can use third-party tools or services to convert your avatar into a 3D model. Once you have the model, you can refine it using software like Blender or Maya before proceeding with the printing process.
How can you bring your Roblox character to life through 3D printing?
You can transform your digital Roblox character into a tangible figurine through the magic of 3D printing. Start by refining your model in a 3D software like Maya or Blender. After that, follow the steps to prepare and print your model, ensuring it captures all the details you love about your character.
What are the steps to bring your Roblox character to life through 3D printing?
Begin by selecting your favorite Roblox character and customizing it to your liking. Optimize the model for printing, choose suitable materials and colors, and then proceed with the 3D printing process. Make sure the model is error-free before sending it to the printer to ensure a smooth printing experience.
Can you customize your Roblox avatar before 3D printing?
Absolutely! You can customize your Roblox avatar extensively before 3D printing. Use Roblox Studio to modify hairstyles, outfits, and accessories. The more detailed your avatar, the more impressive your 3D printed figure will be. This customization allows you to create a unique representation of your digital persona.
What materials can you use for 3D printing your Roblox avatar?
For 3D printing your Roblox avatar, you can use materials like PLA or ABS. These are common in 3D printing due to their durability and ease of use. Choose a material that suits your project needs and desired finish. Each material offers different properties, so consider what works best for your avatar.
How long does it take to 3D print a Roblox avatar?
The time it takes to 3D print a Roblox avatar depends on the size and complexity of the model. Smaller models might take a few hours, while larger or more detailed ones could take several hours or even a day. Patience is key, as the printing process requires precision to achieve the best results.
What should you do if you encounter issues during the 3D printing process?
If you face issues during the 3D printing process, don't worry. Start by checking your printer settings and ensuring the print bed is level. Adjust the print speed and nozzle temperature if needed. If the model isn't stable, increase the infill density or add support structures. Troubleshooting is part of the learning process, and each challenge helps you become more skilled.
Can you use online services to 3D print your Roblox avatar?
Yes, you can use online services to 3D print your Roblox avatar. Platforms like Etsy and Avatar Factories offer custom 3D printing services. These services can be convenient if you don't have access to a 3D printer or prefer professional assistance. They provide an opportunity to bring your avatar to life without handling the technical aspects yourself.
Is it possible to sell 3D printed Roblox avatars?
Selling 3D printed Roblox avatars can be a bit tricky due to intellectual property rights. Always ensure you have the necessary permissions or licenses before selling any 3D printed items based on Roblox characters. It's essential to respect the game's terms of service and any applicable laws regarding the sale of such items.
See Also
A Comprehensive Guide to Personalizing Roblox Figures
Ten Essential Tips for Designing Cool Roblox Avatars
Creating a Roblox Toy Based on Your Character


