How to Turn Photos into Custom 3D Figurines
Imagine holding a miniature version of yourself or a loved one, crafted with precision and detail. Turning photos into custom 3D figurines is now a reality, thanks to advancements in 3D printing technology. This process allows you to transform your favorite images into tangible keepsakes. With the growing popularity of personalized toys, creating a figurine custom to your liking has never been easier. Whether for a special occasion or just for fun, these figurines offer a unique way to preserve memories and express creativity.
Key Takeaways
-
Start with high-quality photos to ensure your 3D model captures the essence of your subject.
-
Choose the right 3D modeling software that suits your skill level and project needs for effective modeling.
-
Select appropriate materials for printing, considering the purpose and desired durability of your figurine.
-
Follow a step-by-step process for creating your 3D model, including capturing photos, refining the model, and preparing it for printing.
-
Regularly maintain and calibrate your 3D printer to achieve the best printing results and avoid common issues.
-
Experiment with different print settings to enhance the quality and detail of your figurines.
-
Embrace the learning curve of 3D modeling and printing; practice will improve your skills and creativity.
Essential Tools and Materials for Figurine Custom

Creating a custom 3D figurine from photos requires the right tools and materials. Let's dive into what you'll need to get started.
Software for 3D Modeling
To begin your journey in creating a figurine custom to your liking, you'll need reliable 3D modeling software. This software helps you transform your photos into a 3D model.
Overview of Popular 3D Modeling Software
Several software options are available for 3D modeling. AutoDesk Fusion 360 is a popular choice among hobbyists and professionals. It offers a free platform with limited features, making it accessible for various printing processes. Solidworks is another excellent option, providing advanced tools for parametric modeling and simulation. If you're looking for something more comprehensive, CATIA offers a suite for product design, engineering, and simulation. For those managing multiple printers, 3DPrinterOS can increase productivity and ensure successful prints.
Features to Look for in Software
When choosing software, consider its ease of use and compatibility with your computer. Look for features like parametric modeling, which allows you to make precise adjustments. Simulation tools can help you predict how your figurine will look once printed. Ensure the software supports the file formats your 3D printer uses.
Hardware Requirements
Your computer and 3D printer play crucial roles in the creation process. Let's explore what you'll need.
Computer Specifications
A powerful computer ensures smooth operation of 3D modeling software. Aim for a machine with a fast processor and plenty of RAM. A dedicated graphics card can also enhance performance, especially when rendering complex models.
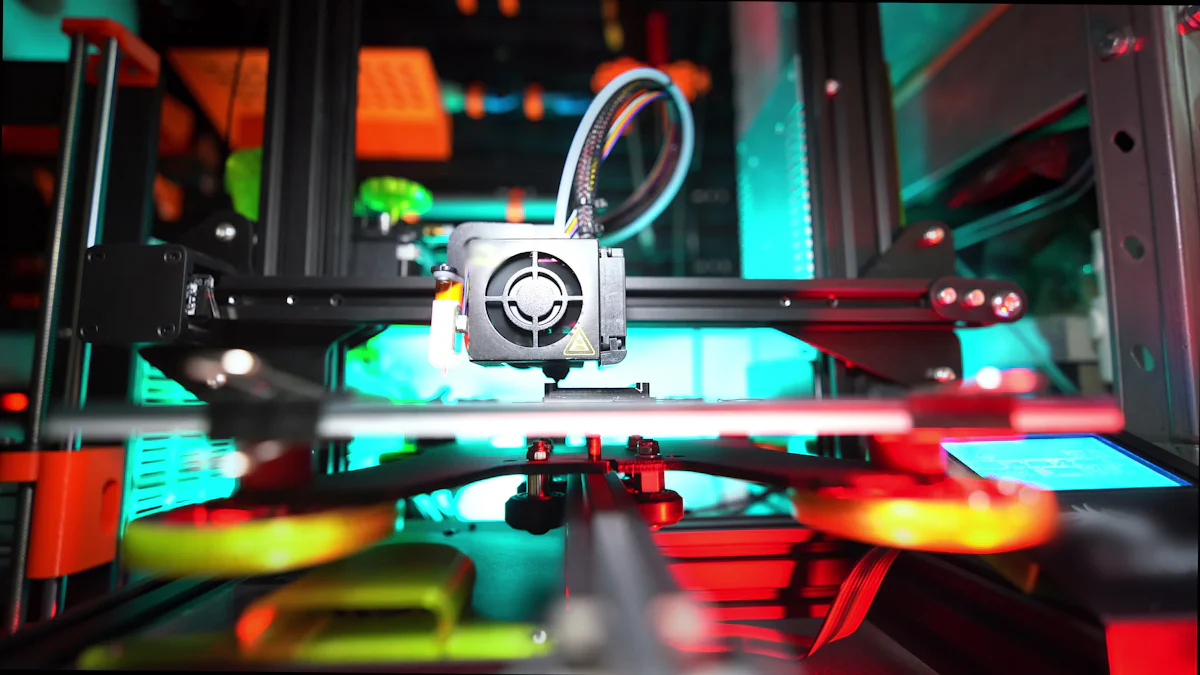
3D Printer Options
Choosing the right 3D printer depends on your needs and budget. Entry-level printers are great for beginners, while more advanced models offer higher precision and larger build volumes. Consider whether you want a filament-based printer or one that uses resin, as this will affect the quality and detail of your figurine.
Materials for Printing
The material you choose for printing affects the look and durability of your figurine.
Types of Filament or Resin
Filament options include PLA, ABS, and PETG, each with unique properties. PLA is easy to use and biodegradable, making it a popular choice. ABS offers more strength and flexibility, while PETG combines the best of both. If you opt for resin printing, you'll find options like standard, tough, and flexible resins.
Choosing the Right Material for Your Project
Consider the purpose of your figurine when selecting materials. For display pieces, PLA or standard resin might suffice. If you need something more durable, ABS or tough resin could be better choices. Always match the material to the desired finish and functionality of your project.
By equipping yourself with the right tools and materials, you'll be well on your way to creating stunning custom 3D figurines from your photos.
Step-by-Step Process of Creating a 3D Model
Creating a custom 3D figurine from your photos involves several key steps. Let's walk through the process to ensure you achieve the best results.
Capturing the Perfect Photos
To start, you need high-quality photos. These images form the foundation of your 3D model.
Tips for Taking High-Quality Photos
When taking photos, use the rule-of-thirds grid on your camera’s Live View. This helps you align everything properly. An on-camera spirit level can also ensure your shots are level. Take your photos in a logical order, moving around the subject to capture all angles. This method ensures you have a comprehensive set of images to work with.
Importance of Lighting and Angles
Good lighting is crucial. Natural light works best, but if that's not possible, use soft, diffused artificial light. Avoid harsh shadows and overexposure. Capture your subject from multiple angles to provide a complete view. This variety helps in creating a more accurate 3D model.
Using Software to Create a 3D Model
Once you have your photos, it's time to bring them into the digital realm.
Importing Photos into the Software
Start by importing your photos into your chosen 3D modeling software. Most programs offer straightforward import functions. Ensure your images are in a compatible format, like JPEG or PNG.
Aligning and Stitching Images
After importing, align and stitch the images together. This step involves matching points across different photos to create a cohesive model. Many software options automate this process, but manual adjustments might be necessary for precision.
Refining the 3D Model
With your basic model in place, it's time to refine it.
Editing and Smoothing the Model
Use editing tools to smooth out any rough edges. This step enhances the overall appearance of your figurine custom model. Adjust the mesh to correct any distortions and ensure a clean finish.
Adding Details and Textures
Finally, add details and textures to bring your model to life. Use texture mapping to apply realistic surfaces. This step allows you to customize the look of your figurine, making it truly unique.
By following these steps, you'll be well on your way to creating a stunning 3D model from your photos. With practice, you'll find the process becomes more intuitive, allowing you to focus on the creative aspects of your project.
Preparing the Model for Printing
Before you hit that print button, you need to prepare your 3D model properly. This step ensures your figurine custom project turns out just the way you imagined. Let's dive into the essential tasks you need to tackle.
Checking for Errors
Errors in your 3D model can lead to printing failures. You want to catch these issues early.
Common Issues and How to Fix Them
You might encounter several common problems, like holes in the mesh or non-manifold edges. These issues can cause your printer to misinterpret the model. Use your 3D modeling software's built-in tools to identify and fix these errors. Most programs offer a "repair" function that automatically corrects common mistakes. If you're using SOLIDWORKS, simply save your model as an .STL file to ensure compatibility with most 3D printers.
Ensuring Model Stability
Stability is crucial for a successful print. Check your model for any thin or unsupported areas that might collapse during printing. Reinforce these sections by adding supports or thickening the walls. This step helps maintain the integrity of your figurine during the printing process.
Slicing the Model
Slicing is the process of converting your 3D model into a format your printer can understand. It involves dividing the model into horizontal layers.
Understanding Slicing Software
Slicing software translates your 3D model into instructions for your printer. Popular options include Cura, PrusaSlicer, and Simplify3D. Each program offers unique features, but they all perform the same basic function. Familiarize yourself with the interface and explore the settings available.
Setting Up Print Parameters
Once you've chosen your slicing software, it's time to set up your print parameters. These settings determine how your printer will create each layer of your figurine. Adjust parameters like layer height, print speed, and infill density to suit your project's needs. A lower layer height results in finer detail, while a higher infill density increases strength. Experiment with different settings to find the perfect balance for your figurine custom creation.
By carefully preparing your model and setting up your print parameters, you'll increase the chances of a successful print. This preparation ensures your figurine looks great and stands the test of time.
Printing and Finishing the Figurine
Creating a custom 3D figurine from your photos is an exciting journey. Once you've prepared your model, it's time to bring it to life with printing and finishing touches. Let's explore how you can achieve the best results.
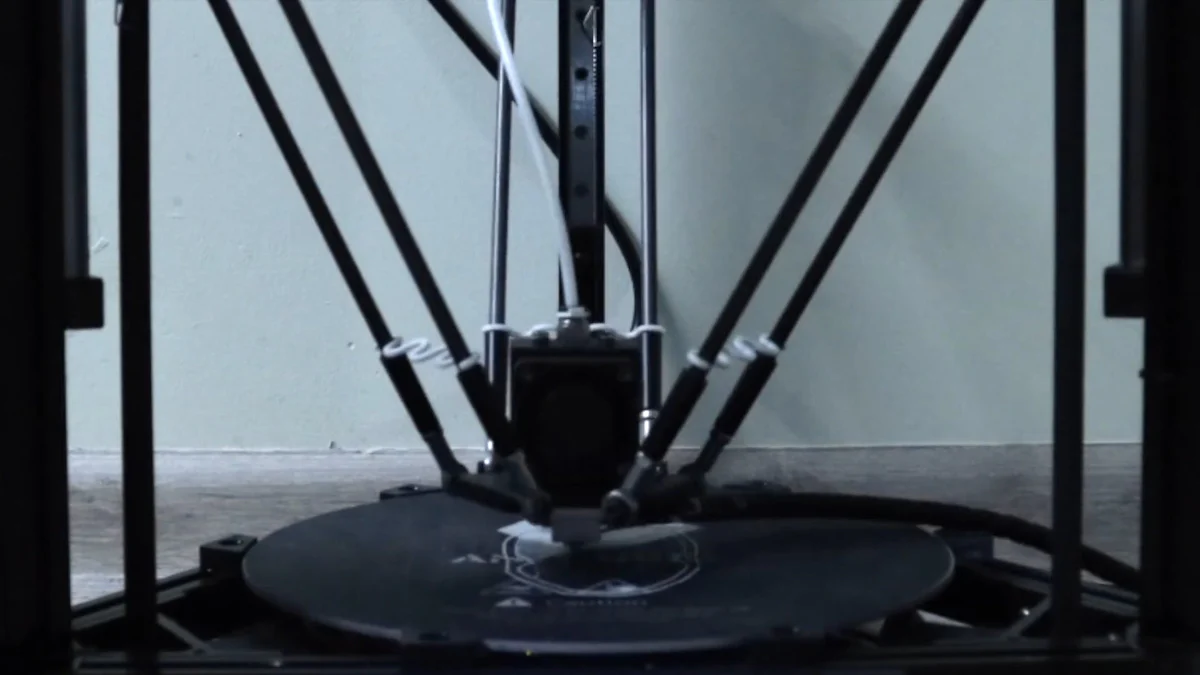
Printing the Model
The printing phase is where your digital creation becomes a tangible object. Here's how to set up and monitor the process effectively.
Setting up the 3D Printer
First, ensure your 3D printer is ready for action. Start by checking the printer's calibration. A well-calibrated printer ensures accurate prints. Load the filament or resin material you've chosen for your figurine. Make sure the printer bed is clean and leveled. This step prevents any misprints or adhesion issues. Adjust the printer settings according to the slicing parameters you set earlier. These settings guide the printer on how to build your figurine layer by layer.
Monitoring the Printing Process
Once the printer starts, keep an eye on the progress. Regular monitoring helps catch any issues early. Watch for signs of filament jams or layer shifts. These problems can affect the quality of your figurine. If you notice any issues, pause the print and make necessary adjustments. This proactive approach saves time and materials.
Post-Processing Techniques
After printing, your figurine custom project needs some finishing touches. These steps enhance the appearance and durability of your creation.
Removing Supports and Cleaning
Most 3D prints require supports to maintain structure during printing. Carefully remove these supports using pliers or a craft knife. Take your time to avoid damaging the figurine. Once the supports are gone, clean the surface. Use sandpaper or a file to smooth out any rough areas. This step prepares the figurine for painting and finishing.
Painting and Finishing Touches
Now, it's time to add color and detail. Choose paints that suit the material of your figurine. Acrylic paints work well for most 3D printed materials. Apply a primer first to ensure the paint adheres properly. Use fine brushes for detailed work. Add layers of paint to achieve the desired look. Once the paint dries, consider applying a clear coat. This finish protects the paint and gives your figurine a polished appearance.
Creating a custom 3D figurine is a rewarding experience. From setting up the printer to adding the final touches, each step offers a chance to express creativity. Whether you're making a gift or a personal keepsake, the result is a unique piece that captures special moments.
Tips for Ensuring High-Quality Results
Creating a custom 3D figurine is an exciting journey, but achieving high-quality results requires attention to detail and some know-how. Here are some tips to help you get the best outcomes from your 3D printing projects.
Best Practices for 3D Printing
To ensure your figurines come out looking their best, follow these best practices for 3D printing.
Calibration and Maintenance of Equipment
Keeping your 3D printer in top shape is crucial. Regular calibration ensures that your printer operates accurately. Check the printer's alignment and adjust the bed level frequently. Clean the nozzle and other components to prevent clogs and maintain smooth operation. A well-maintained printer produces more reliable and precise prints.
Experimenting with Different Settings
Don't be afraid to tweak your printer settings. Experimenting with different parameters can lead to better results. Try adjusting the layer height for finer details or changing the print speed for smoother surfaces. Each project might require unique settings, so take the time to find what works best for your specific figurine. This experimentation can significantly enhance the quality of your prints.
Troubleshooting Common Problems
Even with the best practices, issues can arise. Knowing how to troubleshoot common problems can save you time and frustration.
Addressing Print Failures
Print failures happen to everyone, but you can address them effectively. If your print fails, check for common issues like filament jams or bed adhesion problems. Ensure the printer bed is clean and properly leveled. If the filament isn't feeding correctly, inspect the spool and feeder for tangles or blockages. By identifying and fixing these issues, you can reduce the chances of future failures.
Improving Model Accuracy
Accuracy is key to creating a figurine that truly represents your photos. Use software solutions to enhance the precision of your models. Many programs offer tools to refine and correct your designs before printing. Pay attention to the details in your model and make necessary adjustments to improve accuracy. This step ensures your figurine captures the essence of the original image.
By following these tips, you'll be well-equipped to produce high-quality custom 3D figurines. Remember, practice makes perfect, and each project is an opportunity to learn and improve your skills.
Potential Challenges and How to Overcome Them
Creating custom 3D figurines from photos can be a rewarding experience, but it comes with its own set of challenges. Let's explore some common hurdles you might face and how to tackle them effectively.
Technical Difficulties
When diving into the world of 3D modeling and printing, you may encounter technical challenges. These can range from software complexities to hardware constraints.
Software Learning Curve
Learning new software can feel daunting. Many 3D modeling programs offer a wide array of features, which can be overwhelming at first. To ease this process, start with beginner-friendly tutorials. Many online platforms provide step-by-step guides to help you get familiar with the basics. Practice regularly to build your confidence. Remember, patience is key. As you gain experience, you'll find the software becomes more intuitive.
"Ambition induces success and is highly appreciated as it drives people to encounter challenges." – Unknown
Tip: Don't rush to create a masterpiece right away. Focus on mastering the fundamentals first.
Hardware Limitations
Your computer and 3D printer play crucial roles in the creation process. Sometimes, hardware limitations can hinder your progress. Ensure your computer meets the necessary specifications for running 3D modeling software smoothly. If your printer struggles with complex models, consider upgrading to a more advanced model. Alternatively, you can simplify your designs to match your current hardware capabilities.
Tip: Regular maintenance of your equipment can also improve performance and extend its lifespan.
Artistic Challenges
Beyond technical aspects, artistic challenges can also arise when creating custom figurines. Achieving the desired look and balancing detail with printability are common concerns.
Achieving Desired Aesthetics
Capturing the essence of your photos in a 3D model requires an artistic touch. Pay attention to details like facial expressions and clothing textures. Use reference images to guide your design process. Experiment with different textures and colors to bring your figurine to life. Don't hesitate to seek feedback from others to refine your work.
Tip: Practice makes perfect. The more you experiment, the better you'll become at translating your vision into a 3D model.
Balancing Detail and Printability
While adding intricate details can enhance your figurine, it can also complicate the printing process. Striking a balance between detail and printability is essential. Simplify complex elements without compromising the overall design. Test print smaller sections to see how they turn out before committing to a full print.
Tip: Use slicing software to preview how your model will look when printed. This can help you identify potential issues and make necessary adjustments.
By understanding and addressing these challenges, you'll be better equipped to create stunning custom 3D figurines. Embrace the learning process and enjoy the journey of bringing your digital creations to life.
Creating custom 3D figurines from photos is a fascinating journey that combines technology and creativity. You start with a simple image and end up with a tangible keepsake that holds sentimental value. This process encourages you to experiment and unleash your imagination, offering endless customization options. Whether you're crafting a figurine custom for a special occasion or just for fun, the experience is incredibly rewarding. Bringing digital models to life allows you to capture personal moments in vibrant colors and intricate shapes, making each figurine a unique piece of art.
FAQ
What materials are used to make the figurines?
Our figurines are crafted from photosensitive resin. This material allows for detailed and precise creations, ensuring your custom figurine captures every nuance.
Can I get a custom-sized figurine?
Absolutely! We offer three standard sizes: Small (2 inches/5cm), Medium (3 inches/7.5cm), and Large (4 inches/10cm). If you have a specific size in mind that's not listed, feel free to reach out to us on social media. We're happy to discuss your custom request.
How big are the figurines?
You can choose from our three size options: Small (2 inches/5cm), Medium (3 inches/7.5cm), and Large (4 inches/10cm). If these don't fit your needs, contact us to explore other possibilities.
What is the refund or exchange policy?
Since each figurine is a custom artwork, they are non-refundable. We take great care to ensure the highest quality, but please understand that custom items cannot be returned or exchanged.
How should I care for my figurine?
Treat your figurine like a porcelain ornament. Keep it in a warm, dry environment, away from direct sunlight and freezing temperatures. The material is hard and brittle, so handle it with care to avoid breakage.
Can I request changes if the figurine doesn't look exactly like me?
Our figurines aim to recreate a person's likeness as closely as possible. If you feel that certain features are missing, you can opt for HD work to enhance those details. This service comes at an additional cost.
Are the figurines suitable for children?
No, the figurines are not toys. They are decorative items and should not be given to underage children. The material is fragile and can break if mishandled.
How long does it take to create a figurine?
The 3D printing process takes about 8-10 hours. This time frame does not include the necessary 3D touch-up and file preparation. Our skilled technicians inspect each model to ensure the highest quality.
Can I request a figurine with specific features or accessories?
Yes, you can customize your figurine with specific features or accessories. However, please note that additional charges may apply for complex requests or incomplete photo references.
How do I contact you for more information or special requests?
You can reach out to us through our social media channels. We're here to help and will respond to your inquiries as soon as possible.
See Also
Crafting Unique Figurines Tailored Just For You
Building Custom Action Figures That Reflect Your Style
A Complete Manual for Modifying Roblox Characters


