How to Craft Custom Action Figure Accessories
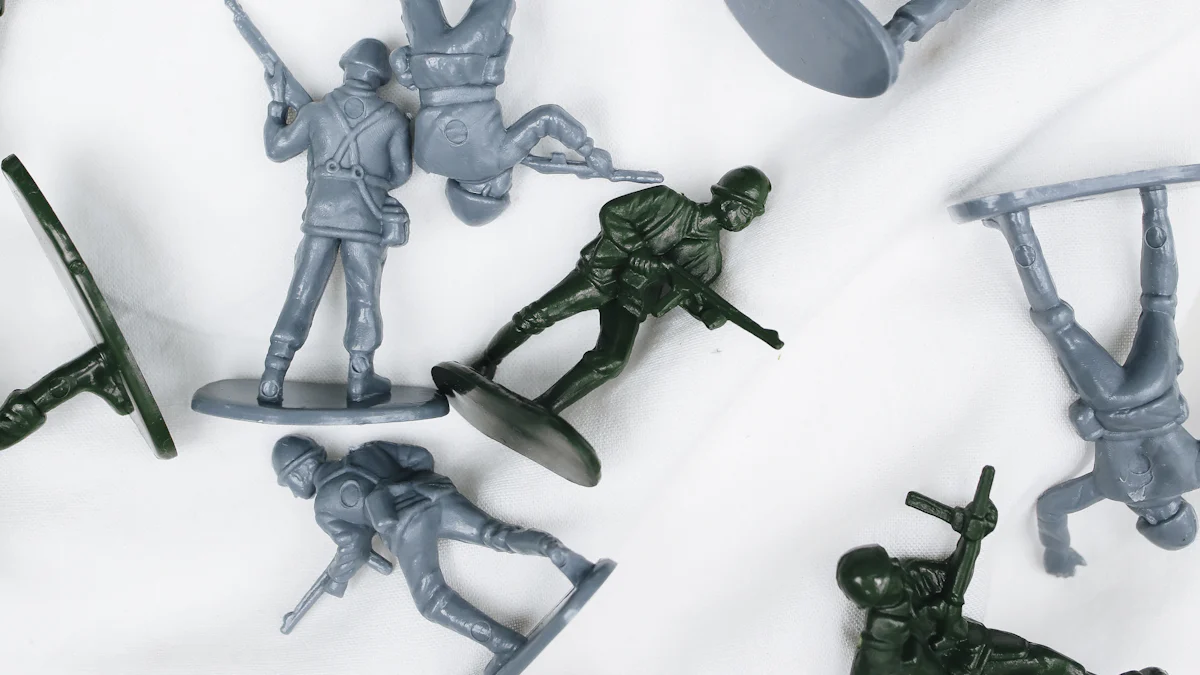
Welcome to the exciting world of custom action figure accessories! Imagine transforming your favorite action figures with unique, personalized touches. You can create accessories that reflect your creativity and passion. With tools like 3D printing, the possibilities are endless. This technology allows you to craft detailed and movable pieces, making your figures truly one-of-a-kind. Whether you're adding a new weapon or a stylish outfit, these accessories bring your figures to life. So, why wait? Dive in and start crafting your own custom action figure accessories today!
Key Takeaways
-
Gather essential materials like clay, plastic, and resin to start crafting your custom accessories.
-
Sketch and plan your designs to visualize your ideas and ensure they align with your action figure's theme.
-
Utilize sculpting tools and techniques to shape your materials, focusing on both overall form and intricate details.
-
Prepare your accessories for painting by priming and sanding to achieve a smooth, durable surface.
-
Experiment with painting techniques such as layering, shading, and highlights to bring your accessories to life.
-
Apply protective varnishes and sealants to ensure the longevity and durability of your finished pieces.
-
Join online communities to share your work, seek feedback, and continuously improve your crafting skills.
Essential Materials and Tools for Custom Action Figure Accessories
Creating custom action figure accessories is a fun and rewarding hobby. To get started, you'll need the right materials and tools. Let's dive into what you'll need to bring your creative ideas to life.
Basic Materials
Types of clay, plastic, and resin
When crafting custom action figure accessories, choosing the right material is crucial. Clay offers flexibility and is perfect for sculpting intricate details. You can use polymer clay, which hardens when baked, or air-dry clay for a simpler process. Plastic is another popular choice. Types like Vinyl (PVC), ABS, and PS are durable and versatile. They work well for creating sturdy accessories. Resin is ideal for casting detailed pieces. It provides a smooth finish and can be painted easily.
Paints, finishes, and metal options
Once you've sculpted your accessory, it's time to add color and detail. Paints like oil and model paints are great for achieving vibrant colors. They adhere well to plastic and resin surfaces. For a professional look, consider using finishes. These can include gloss or matte varnishes that protect your paintwork. If you're looking to add a metallic touch, metal options like aluminum foil or metallic paints can give your accessories a realistic shine.
Necessary Tools
Sculpting tools, brushes, and 3D printing
To shape your materials, you'll need a set of sculpting tools. These can include knives, spatulas, and carving tools. They help you create precise details and textures. Brushes are essential for painting. A variety of sizes will allow you to paint both broad areas and fine details. If you're interested in more advanced techniques, consider using 3D printing. This technology lets you design and print complex accessories with ease.
Safety equipment and workspace setup
Safety should always come first. Equip yourself with safety gear like gloves and masks, especially when working with resin or paints. Ensure your workspace is well-ventilated and organized. A clean and tidy area will make your crafting process smoother and more enjoyable.
By gathering these materials and tools, you're well on your way to creating amazing custom action figure accessories. Remember, the key is to experiment and have fun with the process!
Designing Your Custom Action Figure Accessories
Creating custom action figure accessories starts with a spark of imagination. You want your accessories to reflect your unique style and the character's personality. Let's explore how you can bring your ideas to life.
Conceptualizing Ideas
Sketching, planning, and choosing themes
Begin by sketching your ideas on paper. This step helps you visualize what you want to create. Think about the theme or story behind your action figure. Is it a superhero, a historical figure, or a character from your imagination? Planning your theme will guide your design choices. For instance, if you're designing for a superhero, consider what powers or gadgets they might have. Sketching allows you to experiment with different looks and details before committing to a final design.
Using reference images and templates
Reference images are invaluable. They provide inspiration and help you maintain accuracy in your designs. Look for images that match your theme or style. For example, if you're creating a medieval knight, study armor and weapon designs from that era. Templates can also be useful. They offer a starting point and ensure consistency in your designs. You can find templates online or create your own based on your sketches.
Creating Templates
Making paper or digital templates
Templates are essential for crafting precise accessories. You can make them using paper or digital tools. Paper templates are easy to adjust and modify. Simply draw your design on paper, cut it out, and use it as a guide for your materials. Digital templates offer more precision. Software like Adobe Illustrator or free alternatives like Inkscape can help you create detailed designs. Digital templates are especially useful if you plan to use 3D printing for your accessories.
Considering scale and proportion
Scale and proportion are crucial when designing accessories. Your accessories should fit your action figure perfectly. Measure your figure and ensure your designs are to scale. A sword that's too large or a helmet that's too small can look awkward. Consider the figure's proportions and adjust your designs accordingly. This attention to detail will make your custom action figure accessories look professional and cohesive.
Designing custom action figure accessories is a creative journey. By sketching, using references, and creating templates, you can transform your ideas into reality. Remember, the key is to have fun and let your creativity shine!
Sculpting Techniques for Custom Action Figure Accessories
Sculpting custom action figure accessories is where your creativity truly shines. You can transform raw materials into detailed, lifelike pieces that enhance your figures. Let's explore some basic and advanced sculpting techniques to help you bring your ideas to life.
Basic Sculpting Methods
Shaping, forming, and adding details
Start with the basics: shaping and forming your materials. Use your hands and simple tools like knives and spatulas to mold clay or plastic into the desired shape. Focus on the overall form first, then gradually add details. Think about textures and patterns that will make your accessory stand out. For example, if you're crafting a shield, consider adding intricate designs or engravings. Pay attention to the small details—they can make a big difference in the final look.
Using molds and casts
Molds and casts are fantastic for replicating your designs. Once you've sculpted a prototype, create a mold using silicone or another flexible material. This mold allows you to produce multiple copies of your accessory with consistent quality. Casting involves pouring resin or another material into the mold to create a solid piece. This method is especially useful for making accessories like helmets or weapons, where precision and uniformity are key.
Advanced Techniques
Combining different materials
For more complex designs, consider combining different materials. Mix clay with metal or plastic elements to add variety and functionality to your accessories. For instance, you might use metal wire to reinforce a sword or add hinges to a shield for movement. Experiment with different combinations to achieve the desired effect. This approach not only enhances the visual appeal but also adds durability to your creations.
Employing 3D printing technology
3D printing opens up a world of possibilities for custom action figure accessories. Design your accessory using 3D modeling software, then print it using a 3D printer. This technology allows for intricate designs that might be difficult to achieve by hand. You can create moving parts, detailed textures, and even experiment with different materials. As Tim Bruckner, a renowned figure sculptor, suggests, "3D printing lets you push the boundaries of what's possible in figure sculpting." It's a powerful tool for bringing your most ambitious ideas to life.
By mastering these sculpting techniques, you can create custom action figure accessories that are both unique and professional. Whether you're just starting or looking to refine your skills, remember to enjoy the process and let your creativity guide you.
Painting and Detailing Custom Action Figure Accessories

Painting and detailing your custom action figure accessories can transform them from simple creations into stunning masterpieces. This process involves preparing the surface and applying various painting techniques to achieve a professional finish.
Preparing the Surface
Priming, base coating, and sanding
Before you start painting, it's crucial to prepare the surface of your accessory. Begin with priming. A good primer helps paint adhere better and provides a uniform base color. Choose a primer that matches the material of your accessory, whether it's plastic, resin, or metal. After priming, apply a base coat. This layer sets the foundation for your colors and ensures they appear vibrant and consistent.
Next, focus on sanding. Sanding smooths out any imperfections and creates a surface that paint can grip onto. Use fine-grit sandpaper for this step. It helps in achieving a sleek finish, which is essential for durability and smoothness. Remember, the durability and performance of your paintwork depend on how well it adheres to the surface. Proper preparation ensures your accessories withstand the test of time.
Ensuring smoothness and durability
To ensure your accessory's surface is smooth and durable, pay attention to the details. After sanding, wipe the surface with a damp cloth to remove any dust. This step prevents particles from interfering with the paint application. Consider applying multiple thin layers of primer and base coat rather than one thick layer. This approach enhances adhesion and reduces the risk of peeling or chipping over time.
Painting Techniques
Layering, shading, and highlights
Now, let's dive into painting techniques. Layering is key to achieving depth and richness in your colors. Start with the darkest shade and gradually build up to lighter tones. This technique adds dimension and realism to your accessory. Shading involves adding darker tones to areas that would naturally have shadows. It enhances the three-dimensional appearance of your accessory.
Highlights are the opposite of shading. They involve applying lighter colors to areas that catch the most light. This technique brings out details and makes your accessory pop. Use a small brush for precision and control. By mastering layering, shading, and highlights, you can create accessories that look lifelike and captivating.
Weathering effects and color theory
For a more realistic touch, consider adding weathering effects. These effects simulate wear and tear, giving your accessory a lived-in look. Techniques like dry brushing and washes can create rust, dirt, or grime effects. Experiment with different colors and textures to achieve the desired effect.
Understanding color theory can also enhance your painting skills. Complementary colors can make your accessory stand out, while analogous colors create harmony. Use the color wheel as a guide to choose colors that work well together. By applying these techniques, you can elevate your custom action figure accessories to a professional level.
Finishing Touches for Custom Action Figure Accessories
You've sculpted, painted, and detailed your custom action figure accessories. Now, it's time to add the finishing touches that will protect your work and ensure everything fits perfectly.
Sealing and Protecting
Applying varnishes and sealants
To preserve your hard work, apply a protective layer. Varnishes and sealants are your best friends here. They shield your accessories from wear and tear. Choose a varnish that suits your desired finish—glossy for a shiny look or matte for a subtle effect. Spray or brush it on evenly. This step not only enhances the appearance but also adds a layer of protection against scratches and fading.
Ensuring longevity and durability
Longevity is key for any custom piece. Ensure your accessories last by applying multiple thin coats of sealant. This method provides better coverage and durability than a single thick coat. Allow each layer to dry completely before adding the next. This patience pays off in the long run, keeping your accessories looking fresh and vibrant.
Final Assembly
Attaching accessories securely
Now, let's put everything together. Securely attaching your accessories is crucial. You can use various methods like popping parts together, adding plastic rivets, or using metal screws. For some pieces, gluing might be necessary. Make sure each accessory fits snugly and doesn't wobble. This attention to detail ensures your action figure looks cohesive and ready for display or play.
Making adjustments and refinements
Once assembled, take a step back and assess your work. Look for any areas that might need adjustments. Maybe a piece isn't sitting quite right, or a paint touch-up is needed. Don't hesitate to make refinements. Small tweaks can make a big difference in the overall appearance. Remember, the goal is to create a seamless and polished final product.
By following these steps, you ensure your custom action figure accessories not only look fantastic but also stand the test of time. Enjoy the satisfaction of seeing your creative vision come to life!
Tips for Achieving Professional Results with Custom Action Figure Accessories
Creating custom action figure accessories can be a rewarding journey, but achieving professional results requires attention to detail and practice. Here are some tips to help you elevate your creations.
Common Mistakes to Avoid
Overcoming sculpting and painting challenges
When sculpting, it's easy to get carried away with details. Focus on the overall shape first. Use simple tools to refine your design gradually. If you encounter difficulties, remember that even seasoned professionals face challenges. As a trio of veteran industry insiders suggests, "Step-by-step demos and words of wisdom from the pros" can guide you through the process. Don't rush. Take your time to perfect each step.
Painting presents its own set of challenges. Ensure your paint adheres well by preparing the surface properly. Avoid applying thick layers. Instead, use thin coats to build up color gradually. This technique prevents drips and uneven finishes. If you make a mistake, don't worry. You can always sand it down and start again.
Ensuring proportion and functionality
Proportion is crucial in creating accessories that look natural and fit well. Measure your action figure carefully. Use these measurements to guide your designs. A sword that's too large or a helmet that's too small can throw off the entire look. Functionality matters too. Ensure moving parts work smoothly and securely. Test your accessories with the figure to make sure everything fits and functions as intended.
Enhancing Your Skills
Practicing regularly and seeking inspiration
Practice makes perfect. Set aside time each week to work on your skills. Experiment with different materials and techniques. This practice helps you discover what works best for you. Seek inspiration from various sources. Look at other custom action figure accessories for ideas. Nature, movies, and art can also spark creativity. Keep a sketchbook handy to jot down ideas whenever inspiration strikes.
Learning from online communities and forums
The internet is a treasure trove of knowledge. Join online communities and forums dedicated to custom action figure accessories. These platforms offer valuable insights and tips from experienced creators. Share your work and ask for feedback. Engaging with others can boost your confidence and help you learn new techniques. Remember, everyone started as a beginner. With time and effort, you can achieve professional results.
By avoiding common mistakes and continuously enhancing your skills, you can create custom action figure accessories that stand out. Embrace the learning process and enjoy the creative journey.
You've now explored the exciting journey of crafting custom action figure accessories. From gathering materials to adding those final touches, each step offers a chance to express your creativity. Remember, the process is as enjoyable as the result. Experiment with different techniques and let your imagination run wild. Share your creations with others and inspire fellow enthusiasts. Your unique pieces not only enhance your collection but also tell a story of passion and creativity. So, grab your tools and start crafting today. Who knows? Your next masterpiece might just be around the corner!
FAQ
What are the basic steps to create action figures?
Creating action figures involves several key steps:
-
Conceptualization: You start by brainstorming and sketching ideas for your figure.
-
Prototyping: Next, you create a prototype to visualize the design.
-
Sculpting: This step involves shaping the figure using materials like clay or resin.
-
Molding: You then create molds to replicate the figure.
-
Painting: Add color and details to bring your figure to life.
-
Packaging: Finally, package your figure for display or sale.
Each step requires attention to detail and creativity.
What factors affect the cost of creating action figures?
Several factors influence the cost:
-
Character Design: Complex designs may require more resources.
-
Size: Larger figures typically cost more to produce.
-
Joints and Accessories: More joints and accessories increase production costs.
-
Painting Complexity: Detailed paintwork requires more time and materials.
-
Packaging: Custom packaging can add to the overall cost.
-
Quantity: Producing in bulk often reduces the cost per unit.
Understanding these factors helps in budgeting your project.
How do I choose the right materials for my custom accessories?
Selecting the right materials depends on your goals:
-
Clay: Ideal for detailed sculpting.
-
Plastic: Offers durability and versatility.
-
Resin: Great for casting detailed pieces.
-
Metal: Adds a realistic touch to your accessories.
Consider the look and feel you want to achieve, as well as the durability required.
Can I use 3D printing for custom action figure accessories?
Absolutely! 3D printing offers precision and flexibility. You can design intricate accessories and print them with ease. This technology allows for high customization and experimentation with different materials. It's a fantastic tool for bringing complex ideas to life.
What are some common mistakes to avoid when crafting accessories?
Avoid these pitfalls:
-
Rushing the Process: Take your time with each step.
-
Ignoring Proportions: Ensure accessories fit your figure well.
-
Skipping Surface Preparation: Proper priming and sanding are crucial.
-
Overloading Details: Focus on the overall design first.
Learning from these mistakes can improve your crafting skills.
How can I improve my painting techniques?
Enhance your painting skills by:
-
Practicing Regularly: Consistent practice leads to improvement.
-
Studying Color Theory: Understanding colors enhances your designs.
-
Experimenting with Techniques: Try layering, shading, and highlighting.
-
Seeking Feedback: Join online communities for tips and critiques.
These strategies can help you achieve professional results.
What should I consider when designing accessories?
Keep these points in mind:
-
Theme: Align your design with the character's story.
-
Scale: Ensure accessories are proportionate to the figure.
-
Functionality: Consider how the accessory will be used or displayed.
-
Materials: Choose materials that suit your design and durability needs.
Thoughtful design leads to cohesive and appealing accessories.
How do I ensure my accessories are durable?
To enhance durability:
-
Use Quality Materials: Choose materials known for strength.
-
Apply Sealants: Protect your paintwork with varnishes.
-
Test Fit: Ensure accessories fit securely and function well.
-
Avoid Overhandling: Handle with care to prevent wear and tear.
These steps help maintain the longevity of your creations.
Where can I find inspiration for my custom accessories?
Inspiration can come from various sources:
-
Movies and TV Shows: Look at characters and their gear.
-
Nature: Observe textures and colors in the environment.
-
Art and Literature: Draw ideas from different artistic expressions.
-
Online Communities: Engage with other creators for fresh perspectives.
Keeping an open mind can spark new and exciting ideas.
How can I connect with other custom action figure enthusiasts?
Join online forums and social media groups dedicated to action figures. These platforms offer a wealth of knowledge and support. Share your work, ask questions, and learn from others. Engaging with a community can enhance your skills and passion for crafting.
See Also
Crafting Unique Action Figures Just For You
A Comprehensive Guide to Personalizing Roblox Figures
Designing Custom Figurines Tailored To Your Style


