How to Design Your Own Custom Figurines
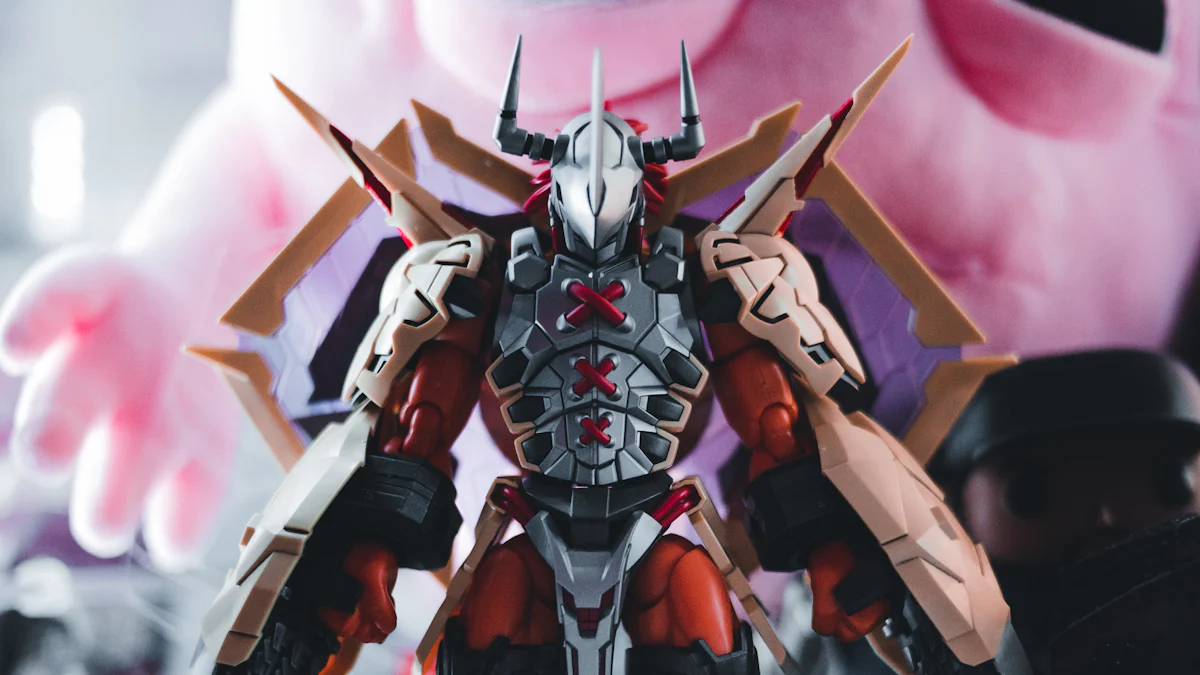
Creating custom figurines offers a unique blend of creativity and personal expression. You can transform your ideas into tangible art pieces that reflect your personality or interests. This trend has surged in popularity, providing a fresh twist on traditional toys. Many people find joy in crafting these personalized action figures, which serve as excellent marketing tools or cherished keepsakes. The best part? You don't need to be a professional artist to start. With accessible tools and resources, even beginners can dive into this rewarding hobby and bring their imaginative visions to life.
Key Takeaways
-
Start with a clear vision: Define what your custom figurine will represent and the emotions you want to convey.
-
Sketch your ideas: Use simple sketches to explore different designs and perspectives, helping you visualize your figurine.
-
Utilize digital tools: Experiment with software like ZBrush or Blender for digital sculpting and 3D modeling to refine your design.
-
Choose the right prototyping method: Consider options like 3D printing or silicone molds to create a preliminary model and identify design flaws.
-
Select appropriate materials: Depending on your figurine's purpose, choose from plastic, resin, or polymer clay to ensure durability and aesthetic appeal.
-
Make final adjustments: Review your design for proportions and details before production, ensuring it aligns with your original vision.
-
Share your creation: Connect with the community by showcasing your figurine online or at local events, celebrating your artistic journey.
Conceptualizing Your Custom Figurine
Creating custom figurines starts with a clear vision. This step is all about letting your imagination run wild and thinking about what you want your figurine to represent. Whether you're designing a character from your favorite story or crafting a unique piece that reflects your personality, the possibilities are endless. Personalization allows you to express yourself in ways that mass-produced items can't match. You can choose everything from accessories to poses, making your figurine truly one-of-a-kind.
Defining Your Vision
Begin by asking yourself some questions. What story do you want your figurine to tell? Is it a superhero, a fantasy creature, or perhaps a representation of yourself? Think about the emotions and characteristics you want to convey. This is your chance to bring your imagination to life. Consider the details that will make your figurine special. Maybe it's a specific outfit, a unique hairstyle, or a particular pose. These elements will help define your vision and guide you through the design process.
Sketching Your Ideas
Once you have a vision, it's time to put it on paper. Sketching is a great way to explore different ideas and see how they might look in three dimensions. Don't worry if you're not an artist. Simple sketches can still be incredibly helpful. Focus on capturing the essence of your figurine. Try different angles and poses to see what works best. You might find that certain features stand out more when viewed from different perspectives. This stage is all about experimentation, so feel free to make changes and try new things.
"The ability to personalize action figures provides individuals with endless opportunities for self-expression." – Demeng Toy
Remember, your sketches don't have to be perfect. They're just a tool to help you visualize your ideas. As you sketch, think about the materials and techniques you'll use later. This will help you make practical decisions about your design. Once you're satisfied with your sketches, you'll have a solid foundation to start bringing your custom figurine to life.
Designing the Custom Figurine
Now that you've sketched your ideas, it's time to bring them to life through digital design. This stage involves using software to create a detailed model of your custom figurine. Don't worry if you're new to this; there are plenty of tools available to help you get started.
Digital Sculpting
Digital sculpting is like working with clay, but on your computer. It allows you to mold and shape your figurine with precision. ZBrush is a fantastic tool for this. It simulates clay work perfectly, letting you add fine details that are hard to achieve with other methods. If you're looking for something more beginner-friendly, Blender offers digital clay sculpting features with twenty different brushes. It's perfect for basic sculpting needs and is free to use.
When you start sculpting, focus on the main shapes first. Think about the proportions and how they match your sketches. As you get more comfortable, you can add intricate details like facial expressions or textures. Remember, digital sculpting is all about experimentation. Don't be afraid to try different techniques and see what works best for your design.
3D Modeling
Once you've sculpted your figurine, it's time to move on to 3D modeling. This step involves creating a digital representation of your figurine that can be used for 3D printing. Meshmixer is a great tool for beginners. It's free and helps prepare your model for printing. Many artists use it to add finishing touches before sending their designs to the printer.
In 3D modeling, you'll refine your figurine's shape and ensure all parts fit together seamlessly. Pay attention to the dimensions and make sure everything is proportionate. This is also the time to think about how your figurine will stand or balance. You might need to adjust the base or add supports to ensure stability.
By the end of this stage, you'll have a complete digital model of your custom figurine. This model serves as the blueprint for the next steps in bringing your creation to life. With digital sculpting and 3D modeling, you can transform your vision into a detailed and ready-to-produce design.
Preparing for Production of Custom Figurines
Once you've designed your custom figurine, it's time to prepare for production. This stage involves creating a prototype and selecting the right materials. Both steps are crucial to ensure your figurine turns out just as you envisioned.
Prototyping
Prototyping is the process of creating a preliminary model of your figurine. This step helps you identify any design flaws and make necessary adjustments before full-scale production. You have several options for prototyping:
-
3D Printing: This method allows you to create highly detailed and accurate prototypes. It's perfect for intricate designs and offers great customization possibilities. You can use software like Blender or Meshmixer to prepare your digital model for printing. Once ready, send it to a 3D printer to bring your prototype to life.
-
Silicone Molds: If you prefer traditional methods, consider using silicone molds. This involves creating a mold of your figurine and casting resin duplicates. It's a great way to test different materials and finishes.
-
Resin Duplicates: Resin is a popular choice for prototyping due to its durability and ability to capture fine details. You can create resin duplicates using silicone molds, allowing you to experiment with different designs and features.
Each prototyping method has its advantages. Choose the one that best suits your needs and budget. Remember, the goal is to refine your design and ensure it meets your expectations.
Material Selection
Selecting the right materials is essential for producing high-quality custom figurines. Different materials offer varying levels of durability, finish, and cost. Here are some common options:
-
Plastic: A versatile and affordable choice, plastic is widely used for figurine production. It's lightweight and easy to work with, making it ideal for beginners.
-
Resin: Known for its durability and ability to capture intricate details, resin is a popular choice for custom figurines. It provides a smooth finish and can be painted easily.
-
Epoxy Resin: This material offers excellent strength and clarity. It's perfect for creating transparent or glossy finishes, adding a professional touch to your figurine.
-
Polymer Clay: If you enjoy hands-on crafting, polymer clay is a great option. It allows you to sculpt your figurine manually and bake it to harden the material.
Consider the purpose of your figurine when selecting materials. If it's meant to be a keepsake, durability might be a priority. For decorative pieces, focus on the finish and aesthetic appeal. By choosing the right materials, you can ensure your custom figurine not only looks great but also stands the test of time.
Finalizing and Producing Your Custom Figurine
You're almost at the finish line! Now it's time to make those final tweaks and get your custom figurine ready for production. This stage is crucial to ensure your creation turns out exactly as you imagined.
Final Design Adjustments
Before you hit the production button, take a moment to review your design. Look closely at every detail. Are the proportions right? Does the pose convey the emotion you want? Make sure everything aligns with your original vision. Sometimes, small adjustments can make a big difference.
Consider the feedback from your prototype. Did you notice any issues with balance or stability? Now's the time to fix those. You might need to adjust the base or tweak the figurine's stance. Remember, your goal is to create a piece that not only looks great but also stands securely.
Think about the colors and finishes. Do they match your concept? You can experiment with different color schemes or textures to see what works best. These final touches will bring your figurine to life and make it truly unique.
Production Techniques
With your design perfected, it's time to choose the right production technique. Several options are available, each with its own benefits:
-
3D Printing: This method is perfect for intricate designs. It allows you to produce highly detailed custom figurines with precision. You can use a variety of materials, like plastic or resin, to achieve different finishes.
-
Casting: If you prefer a more traditional approach, casting might be the way to go. This involves creating a mold of your figurine and using it to produce duplicates. It's great for making multiple copies and experimenting with different materials.
-
Handcrafting: For those who enjoy a hands-on approach, handcrafting offers a personal touch. You can use materials like polymer clay to sculpt your figurine manually. This method allows for complete control over the final product.
Choose the technique that best suits your needs and resources. Consider factors like cost, time, and the level of detail you want to achieve. Each method has its own charm and can produce stunning results.
By the end of this stage, you'll have a finished custom figurine that reflects your creativity and effort. Whether it's a gift, a keepsake, or a display piece, your figurine will be a testament to your artistic journey.
Overcoming Challenges in Custom Figurine Design
Designing custom figurines can be a rewarding journey, but it comes with its own set of challenges. Whether you're a beginner or have some experience, you'll likely encounter a few bumps along the way. Let's explore some common issues and how you can troubleshoot them effectively.
Common Design Issues
When designing custom figurines, you might face several design-related hurdles. Here are some typical problems and tips to overcome them:
-
Proportion and Balance: Ensuring your figurine stands upright and looks proportional can be tricky. Start by revisiting your sketches and digital models. Check if the limbs and body parts align well. Adjust the base or stance to improve stability.
-
Detailing: Adding intricate details can be challenging, especially if you're new to digital sculpting. Focus on mastering basic shapes first. Use tools like ZBrush or Blender to gradually add finer details. Practice makes perfect, so don't rush this process.
-
Material Compatibility: Sometimes, the materials you choose might not work well together. Test different combinations during the prototyping phase. Experiment with various materials like resin or polymer clay to see which ones suit your design best.
"The ability to create physical models through rapid prototyping is invaluable," said the founders of Makelab. They emphasized the importance of prototypes in identifying design flaws early on.
Troubleshooting Production Problems
Once you've tackled design issues, production can present its own set of challenges. Here's how to address some common production problems:
-
3D Printing Errors: If you're using 3D printing, you might encounter issues like warping or layer misalignment. Ensure your printer settings match the material specifications. Regularly calibrate your printer to maintain accuracy.
-
Casting Imperfections: When casting figurines, air bubbles or incomplete molds can occur. Use a vacuum chamber to remove air bubbles from resin. Ensure molds are clean and properly sealed before pouring.
-
Handcrafting Challenges: If you're handcrafting, uneven surfaces or weak joints might arise. Use tools like sandpaper to smooth surfaces. Reinforce joints with additional material for added strength.
Collaboration can also help overcome these challenges. The founders of Makelab shared success stories of working with others to refine designs and solve production issues. Don't hesitate to seek advice or partner with fellow creators.
By addressing these common design and production challenges, you can create stunning custom figurines that reflect your creativity and dedication. Remember, every obstacle is an opportunity to learn and improve your skills.
Showcasing and Sharing Your Custom Figurine

You've put in the hard work and creativity to design your custom figurine. Now, it's time to show it off and share your masterpiece with others. Displaying and sharing your figurine can be just as rewarding as creating it.
Displaying Your Figurine
Displaying your custom figurine is an exciting part of the process. It allows you to enjoy your creation and lets others appreciate your artistry. Here are some ideas to showcase your figurine:
-
Create a Dedicated Space: Set up a special spot in your home to display your figurine. A shelf or a glass cabinet can make your piece stand out. Consider adding lighting to highlight the details and craftsmanship.
-
Use a Themed Background: Enhance your display by creating a themed background. If your figurine is a fantasy creature, a backdrop with mystical elements can add depth and context. This approach makes your display more engaging and visually appealing.
-
Rotate Displays: If you have multiple figurines, rotate them regularly. This keeps your display fresh and allows each piece to shine. It also gives you the chance to appreciate different aspects of your collection over time.
-
Incorporate into Decor: Integrate your figurine into your home decor. Place it on a coffee table or a mantelpiece where it can be a conversation starter. This approach blends your art with your living space, making it a part of your everyday life.
Sharing with the Community
Sharing your custom figurine with others can be incredibly fulfilling. It connects you with fellow enthusiasts and opens up opportunities for feedback and inspiration. Here's how you can share your creation:
-
Join Online Communities: Platforms like Reddit and Facebook have groups dedicated to custom figurines. Share photos of your work and engage with other creators. You'll find a supportive community eager to offer advice and encouragement.
-
Participate in Local Events: Look for local art fairs or conventions where you can showcase your figurine. These events provide a platform to meet other artists and enthusiasts. They also offer a chance to gain exposure and receive valuable feedback.
-
Start a Blog or Social Media Page: Document your creative journey by starting a blog or social media page. Share your process, challenges, and triumphs. This not only showcases your work but also inspires others to embark on their own creative projects.
-
Collaborate with Others: Reach out to other creators for collaborations. Working together can lead to exciting new ideas and projects. It also strengthens your network within the custom figurine community.
By displaying and sharing your custom figurine, you celebrate your creativity and connect with others who share your passion. Whether you're showcasing your work at home or sharing it with the world, your figurine becomes a testament to your artistic journey.
Designing your own custom figurines is a journey filled with creativity and personal expression. You start by conceptualizing your vision, sketching ideas, and moving on to digital sculpting and 3D modeling. Each step brings you closer to transforming your imagination into a tangible piece of art.
Now, it's your turn to dive in and explore this exciting world. Whether you're creating a keepsake or a unique gift, the possibilities are endless.
For further learning, consider exploring online platforms like Eldritch Foundry or ANVL. They offer tools and resources to help you refine your skills and bring your custom figurine ideas to life.
FAQ
What are the applications of custom figurines?
Custom figurines serve many purposes. You can use them as souvenirs, promotional merchandise, or collectibles. They also make great toys and cake toppers. These figurines add a personal touch to any occasion or collection.
What are the downsides of custom-made figurines?
Creating custom figurines has some drawbacks. The process can be costly and time-consuming. There's a risk of inaccuracies in the final product. Often, these figurines come in limited editions, and you can't return or exchange them. Consider these factors before starting your project.
How do I start designing my own custom figurine?
Begin by defining your vision. Think about what you want your figurine to represent. Sketch your ideas on paper. Use digital sculpting tools like Blender or ZBrush to create a 3D model. This approach helps you visualize your design before production.
What materials should I use for my custom figurine?
Choose materials based on your figurine's purpose. Plastic is affordable and versatile. Resin offers durability and captures fine details well. Epoxy resin provides strength and clarity. Polymer clay allows for hands-on crafting. Each material has unique benefits, so select one that fits your needs.
Can I make a custom figurine without any artistic skills?
Yes, you can! Many tools and resources cater to beginners. Digital sculpting software like Tinkercad offers user-friendly interfaces. Online platforms provide templates and guides. With practice and patience, you can create impressive custom figurines.
How long does it take to create a custom figurine?
The time varies depending on complexity and method. Simple designs might take a few days. More intricate projects could require weeks. Prototyping and production add to the timeline. Plan accordingly to ensure you have enough time to perfect your creation.
Is 3D printing the best method for making custom figurines?
3D printing offers precision and detail, making it a popular choice. It allows for high customization levels. However, other methods like casting or handcrafting have their own advantages. Choose the method that aligns with your skills and resources.
How can I share my custom figurine with others?
Share your figurine by joining online communities or participating in local events. Start a blog or social media page to document your journey. Collaborate with other creators for new ideas. Sharing connects you with fellow enthusiasts and showcases your work.
What should I do if I encounter problems during production?
Troubleshoot issues by revisiting your design. Check for proportion and balance errors. Adjust your digital model or prototype. Seek advice from online forums or collaborate with others. Every challenge is an opportunity to learn and improve your skills.
Are there any resources to help me learn more about custom figurine design?
Yes, many resources are available. Online platforms like Eldritch Foundry and ANVL offer tools and tutorials. Explore forums and communities for tips and inspiration. Books and courses on digital sculpting and 3D modeling can also enhance your skills.
See Also
Crafting Unique Action Figures Tailored Just For You
A Comprehensive Guide to Personalizing Roblox Characters
Simple Steps to Customize Your Roblox Figures


