How to Easily Attach Minifigure Capes
Attaching minifigure capes can seem tricky, but you can do it easily without causing any damage. A secure fit is crucial for both play and display. You want your minifigure to look its best, whether it's battling villains or standing proudly on a shelf. By following a few simple steps, you ensure that the cape stays in place and looks great. So, let's dive into the process and make sure your minifigure capes are attached perfectly every time.
Key Takeaways
-
Gather all necessary materials, including your minifigure and cape, to ensure a smooth attachment process.
-
Remove the minifigure's head before attaching the cape for easier positioning and alignment.
-
Align the cape's holes with the neck peg of the minifigure for a secure fit, ensuring symmetry for a polished look.
-
Reattach the head gently to hold the cape in place, preventing it from slipping during play or display.
-
If you encounter misalignment, simply remove the head and adjust the cape for a perfect fit.
-
Consider using tweezers for precise positioning, especially with smaller or delicate capes.
-
Keep your capes clean and store them flat to maintain their appearance and prevent creases.
Materials Needed
Before you start attaching those stylish capes to your minifigures, gather the necessary materials. Having everything ready will make the process smooth and enjoyable.
Minifigure and Cape
First, you'll need your minifigure and the cape you want to attach. Capes come in various styles and materials, from classic fabric to more modern designs. Each type adds a unique flair to your minifigure, whether it's a legendary knight or a superhero like Batman. Make sure the cape is clean and free from any creases for the best results.
Optional Tools
While you can attach a cape without any tools, having a few optional items on hand can make the task easier and more precise.
Tweezers
Tweezers can be incredibly helpful, especially if you're working with smaller capes or intricate designs. They allow you to hold and position the cape accurately without fumbling. This tool is particularly useful if you have larger fingers or if the cape material is delicate.
Small Scissors
A pair of small scissors might come in handy if you need to trim any loose threads or adjust the cape's edges. Sometimes, capes have tiny imperfections that can be easily fixed with a quick snip. Just be careful not to cut too much, as you want to maintain the cape's original design.
With these materials and tools, you're all set to give your minifigure that perfect cape attachment. Whether you're preparing for an epic battle scene or setting up a display, these steps ensure your minifigure capes look fantastic.
Step-by-Step Guide
Attaching minifigure capes can be a fun and rewarding task. Follow these steps to ensure your cape fits perfectly every time.
Preparing the Minifigure
Before you start, it's essential to prepare your minifigure properly.
Removing the Head
First, gently remove the head of your minifigure. This step makes it easier to position the cape without any obstruction. Hold the torso firmly and twist the head off with a gentle motion. Don't worry; this won't damage your minifigure.
Ensuring Clean Surfaces
Next, check that both the minifigure and the cape are clean. Dust or dirt can affect how well the cape fits. Use a soft cloth to wipe down the surfaces if needed. A clean surface ensures the cape sits smoothly and looks its best.
Positioning the Cape
Now that your minifigure is ready, it's time to position the cape.
Aligning the Holes
Take the cape and align its holes with the neck peg of the minifigure. This step is crucial for a secure fit. Make sure the holes are perfectly centered over the peg. If you're using a cape from Capes4Minifigs, you'll notice their designs often have precise hole placements, making alignment easier.
Checking for Symmetry
Once aligned, check that the cape hangs symmetrically. Look at both sides to ensure they are even. A symmetrical cape adds to the overall appearance of your minifigure, whether it's a superhero or a medieval knight.
Securing the Cape
With the cape in place, it's time to secure it.
Reattaching the Head
Carefully reattach the head to the minifigure. Press down gently until it clicks into place. The head will hold the cape securely, preventing it from slipping during play or display.
Adjusting the Cape
Finally, adjust the cape to ensure it drapes nicely. You might need to tweak the edges slightly for the perfect look. If you're using a stiffer cape, like those from Capes4Minifigs, you'll find they hold their shape well, adding a dynamic flair to your minifigure.
By following these steps, you can easily attach minifigure capes, enhancing the character and style of your figures. Whether you're setting up an epic battle scene or displaying your collection, a well-attached cape makes all the difference.
Troubleshooting Tips
Even with the best intentions, attaching minifigure capes can sometimes present challenges. But don't worry! Here are some common issues you might encounter and how to solve them.
Common Issues
Misalignment
You might find that the cape doesn't sit quite right. It could be off-center or not hanging evenly. This misalignment often happens if the holes in the cape aren't perfectly aligned with the neck peg of the minifigure.
Difficulty Securing
Sometimes, the cape just won't stay put. It might slip or shift, especially during play. This issue usually arises when the head isn't reattached firmly enough to hold the cape in place.
Solutions
Realigning the Cape
To fix misalignment, gently remove the head again and adjust the cape. Make sure the holes are centered over the neck peg. You can use your fingers or tweezers for more precision. Once aligned, reattach the head carefully. This should help the cape hang symmetrically and look great.
Using Tools for Assistance
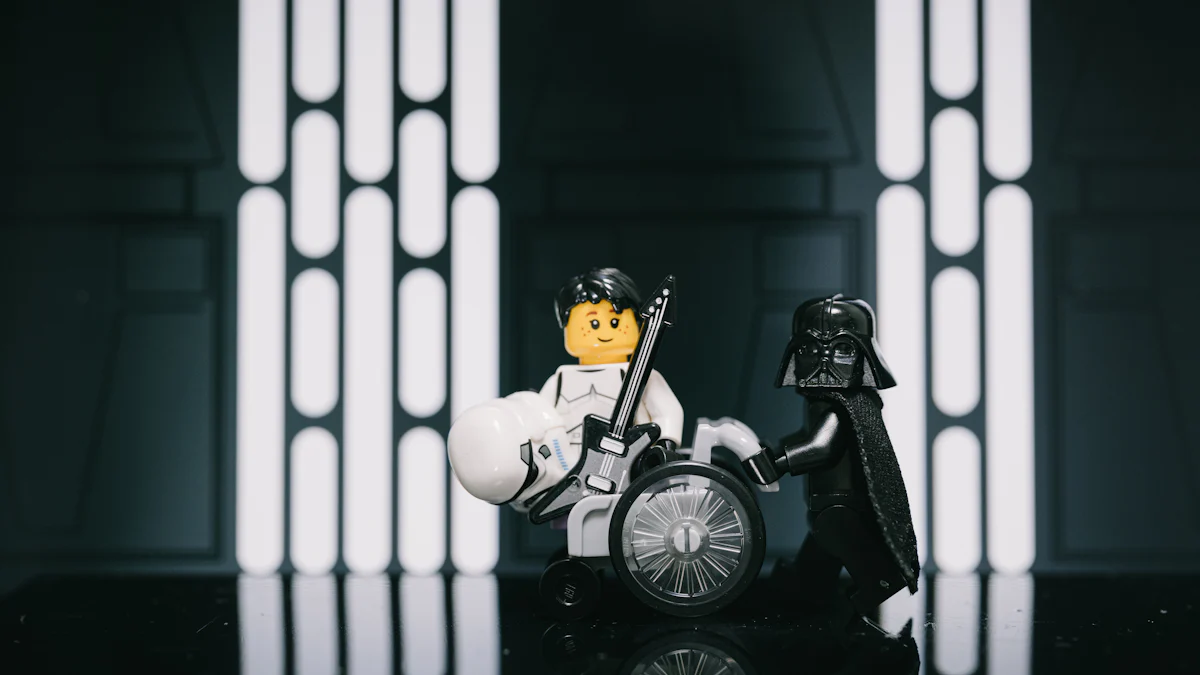
If you're having trouble securing the cape, consider using tools. Tweezers can help you position the cape more accurately. For stiffer capes, like those used in posing minifigs, they can actually assist in keeping the cape in place. As one LEGO enthusiast shared, stiff capes can enhance the pose of your minifigure, adding a dynamic flair to your display.
By addressing these common issues with these solutions, you'll ensure your minifigure capes stay secure and look fantastic. Whether you're setting up a battle scene or just displaying your collection, these tips will help you achieve the perfect look.
You've now mastered the art of attaching minifigure capes! By following these simple steps, you ensure a snug fit that enhances both play and display. Give it a try and see how your minifigures transform with their new capes. Feel free to share your experiences or ask any questions in the comments. Your feedback helps others and enriches our community. Happy building!
FAQ
What types of capes are available for LEGO minifigures?
LEGO minifigures come with a variety of capes, each adding a unique touch to your figures. You can find classic fabric capes, which are soft and flexible, and modern designs that might be stiffer or have different textures. Some capes attach directly to the neck, while others drape over the shoulders. Brands like Capes4Minifigs offer capes made to the same standard as LEGO, though the colors might not always match exactly.
Are Capes4Minifigs capes stiffer than LEGO brand capes?
Yes, Capes4Minifigs capes tend to be stiffer than LEGO's. This stiffness can be beneficial for posing your minifigures, as it helps the cape hold its shape. However, pairing them with accessories might require a bit more patience. Despite this, many users find them to be an amazing value and appreciate the way they enhance the look of their minifigures.
How do I clean my minifigure cape?
To keep your minifigure cape looking its best, gently wipe it with a soft, damp cloth. Avoid using harsh chemicals or soaking the cape, as this could damage the material. If the cape has creases, you can try smoothing them out with your fingers or placing the cape under a heavy book for a short period.
Can I use tools to help attach the cape?
Absolutely! Tools like tweezers can be very helpful, especially if you're working with smaller or more intricate capes. They allow you to position the cape precisely without fumbling. Small scissors can also be useful for trimming any loose threads or imperfections.
What should I do if my cape doesn't stay in place?
If your cape keeps slipping, make sure the head is reattached firmly to hold the cape securely. You might need to realign the cape by removing the head and adjusting the holes over the neck peg. Using tweezers can help you achieve a more precise fit.
Why is my cape misaligned?
Misalignment often occurs when the holes in the cape aren't centered over the neck peg. To fix this, gently remove the head and adjust the cape. Ensure the holes are perfectly aligned before reattaching the head. This should help the cape hang symmetrically.
Can I customize my minifigure cape?
Yes, you can customize your cape to suit your minifigure's style. If you want to add a personal touch, consider using fabric paint or markers to create unique designs. Just be sure to test any materials on a small area first to ensure they don't damage the cape.
How do I store my minifigure capes?
To prevent creases and damage, store your capes flat in a cool, dry place. You can also keep them in a small box or envelope to protect them from dust and dirt. Avoid folding the capes, as this can create unwanted creases.
Are there any special techniques for attaching capes to older minifigures?
Older minifigures might have different attachment methods, such as capes that hang from the shoulders. In these cases, you may need to remove the arms to attach the cape properly. Once the cape is in place, reattach the arms carefully to avoid damaging the figure.
Where can I buy additional capes for my minifigures?
You can purchase additional capes from various online retailers, including Capes4Minifigs. They offer a wide range of styles and colors to suit any minifigure. Be sure to check reviews and compare prices to find the best options for your collection.
See Also
Comprehensive Tutorial for Personalizing Your Roblox Figures
Simple Guide to Modifying Your Roblox Figures
Creating a Custom Roblox Toy Based on Your Avatar


