How to Draw Roblox Avatars Step by Step for Beginners
Are you ready to learn how to draw Roblox avatars? This guide presents 10 Easy Roblox Avatar Drawing Methods for Beginners (Step-by-Step), making it simple for newcomers like you to dive into the fun world of drawing. You don’t need any prior experience—just grab your materials and start sketching! With these straightforward steps and creative tips, you’ll soon create your own unique Roblox characters.
Key Takeaways
-
Get basic drawing tools like a pencil, eraser, and paper. A tidy desk helps you concentrate on drawing.
-
Begin with simple shapes to sketch your Roblox avatar. Draw squares and rectangles for the head, body, arms, and legs.
-
Add details with colors and cool accessories. Try patterns to make your avatar special and exciting.
10 Easy Roblox Avatar Drawing Methods for Beginners (Step-by-Step)
Gather Your Drawing Materials
Before you start drawing, make sure you have everything you need. You don’t need fancy tools—just grab a pencil, eraser, and some paper. If you want to add color later, you can use markers, colored pencils, or even crayons. A ruler might come in handy for straight lines, but it’s not required.
Having the right materials makes the process smoother. Keep your workspace clean and organized so you can focus on your Roblox drawing without distractions. If you’re using a tablet or drawing software, make sure your device is charged and ready to go.
Tip: Don’t stress about having perfect tools. The most important thing is to start drawing and have fun!
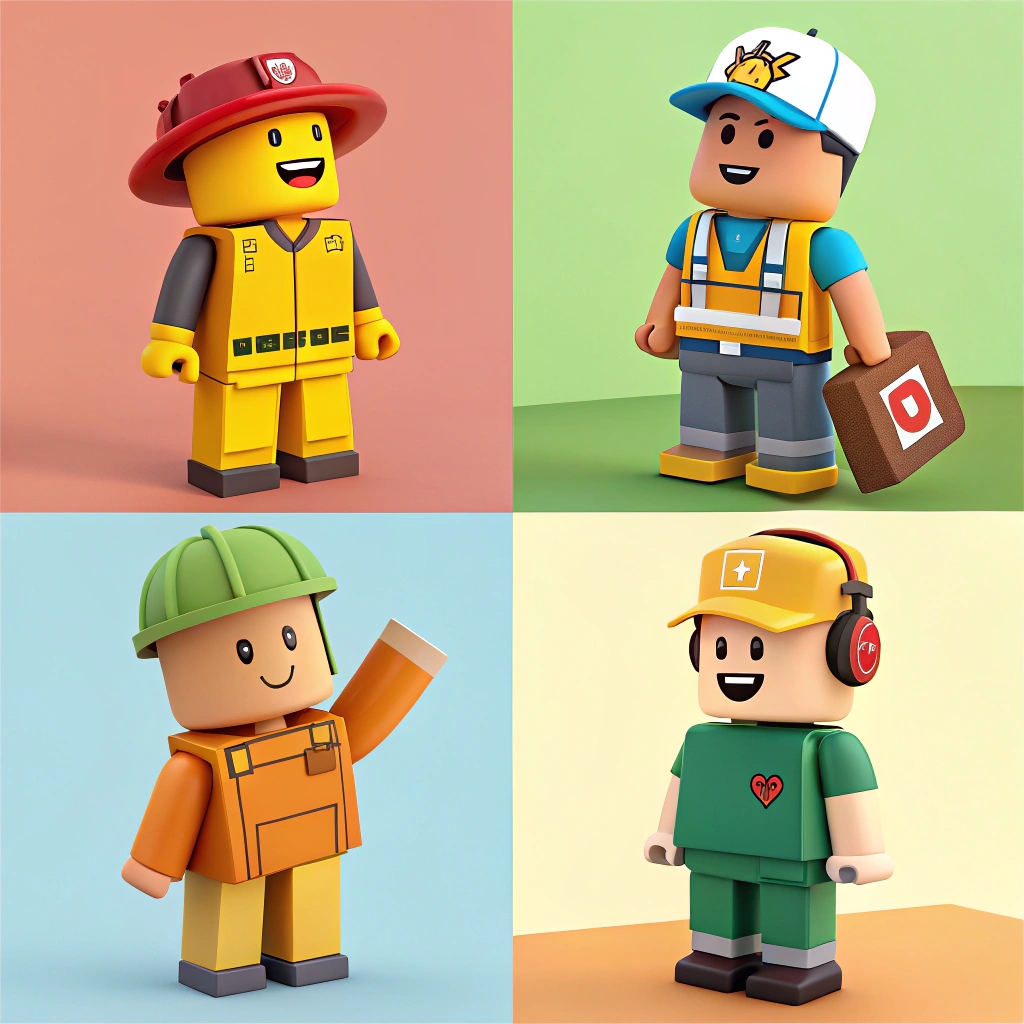
Understand the Basic Shapes of Roblox Avatars
Roblox avatars are made up of simple shapes, which makes them easy to draw. The head is usually a square or rectangle, while the torso is a blocky rectangle. The arms and legs are long rectangles or cylinders. Think of them as building blocks that fit together to create the character.
Start by observing a Roblox avatar. Notice how the shapes connect and how the proportions work. The arms and legs are usually the same length, and the head is smaller than the torso. Once you understand these basics, you’ll find it much easier to sketch your avatar.
Note: Don’t worry about making your shapes perfect. Rough sketches are fine at this stage.
Sketch a Rough Outline Before Adding Details
Now it’s time to put pencil to paper! Begin by lightly sketching the basic shapes you just learned. Draw a square for the head, a rectangle for the torso, and rectangles or cylinders for the arms and legs. Keep your lines light so you can erase and adjust as needed.
Focus on getting the proportions right. Is the head too big? Are the arms too short? Adjust your sketch until it looks balanced. Don’t add any details yet—this is just the foundation of your Roblox drawing.
Once your outline looks good, you’re ready to move on to the fun part: adding details like facial features, clothing, and accessories.
Tip: Use a ruler or grid paper if you’re struggling with proportions. It can help you keep everything aligned.
Step-by-Step Guide: How to Draw Roblox Avatars
Drawing the Head and Face
Start with the head—it’s the foundation of your Roblox drawing. Visualize the head as a square or rectangle, depending on the avatar style you’re aiming for. Lightly sketch the outline, keeping the proportions balanced with the rest of the body.
To add the face, divide the head into thirds. This helps you place features like the eyes, nose, and mouth accurately. Draw two small circles for the eyes, a simple line for the mouth, and a tiny triangle or dot for the nose. Keep the features simple and cartoon-like to match the Roblox aesthetic.
Tip: If you’re struggling with proportions, imagine the head as a sphere for the cranium and a block for the jaw. This technique makes it easier to visualize the structure before adding details.
Adding the Torso and Arms
The torso is a rectangular block that connects the head to the arms and legs. Sketch the torso lightly, ensuring it’s slightly wider than the head. For the arms, draw two long rectangles or cylinders extending from the sides of the torso. Keep the arms equal in length and thickness for a balanced look.
When adding the arms, focus on their placement. They should start slightly below the head and curve naturally toward the body. If your avatar has accessories like gloves or sleeves, sketch them lightly over the arms.
-
Quick Tips for Drawing the Torso and Arms:
-
Study the overall shape of the torso—it’s usually boxy and straightforward.
-
Use references like Roblox characters or photos to understand arm placement.
-
Keep the arms symmetrical to maintain balance in your drawing.
-
Sketching the Legs and Feet
The legs are similar to the arms in shape—long rectangles or cylinders. Draw them extending downward from the bottom of the torso. Make sure the legs are the same length and width to keep the proportions consistent.
For the feet, add small rectangles or ovals at the bottom of the legs. These shapes can be adjusted based on the avatar’s footwear. If your Roblox character wears boots or sneakers, sketch the basic outline of the shoes before adding details.
Note: The legs and feet should align with the torso and arms. If they look uneven, adjust the sketch until everything fits together seamlessly.
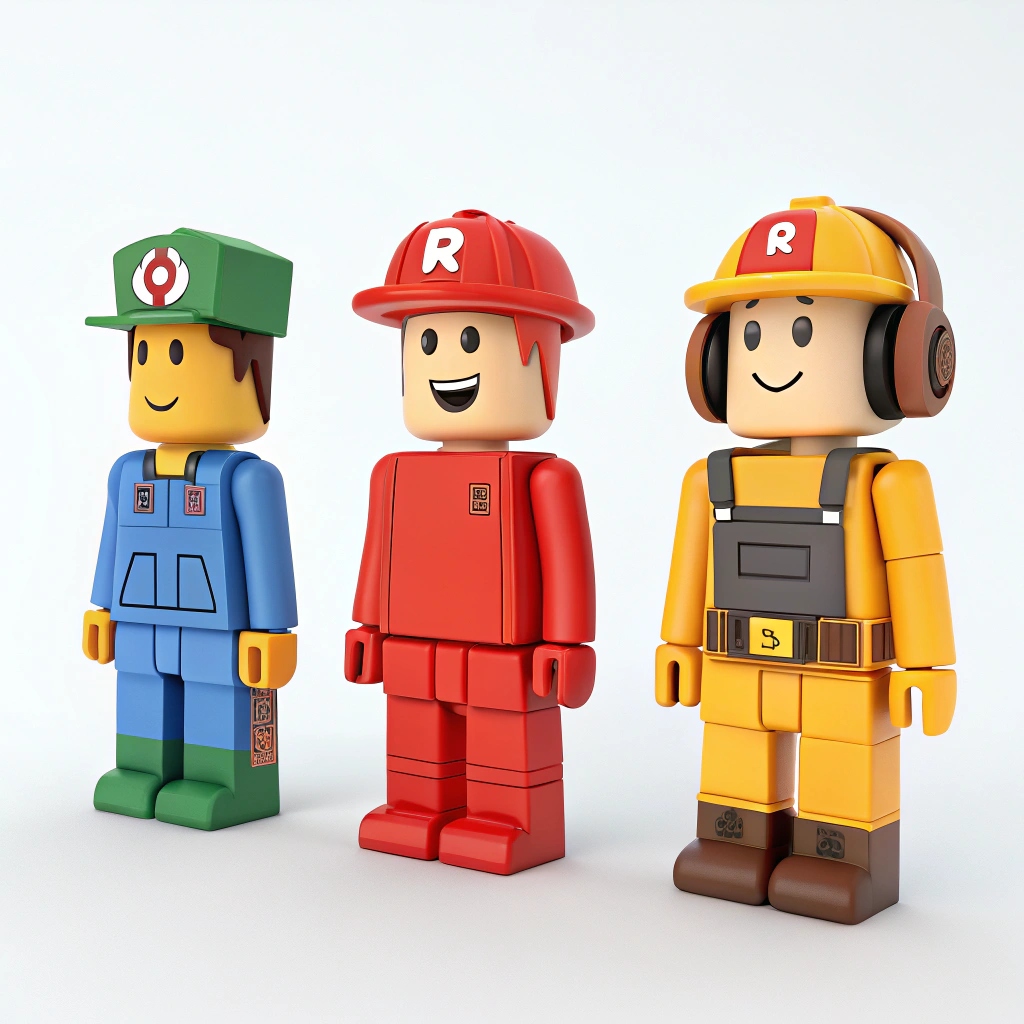
Adding Clothing and Accessories
Now comes the fun part—customizing your avatar! Start by sketching the clothing. Draw simple shapes like rectangles for shirts, pants, or skirts. Add details like collars, buttons, or pockets to make the outfit unique.
Accessories like hats, glasses, or backpacks can bring your Roblox drawing to life. Sketch these items lightly over the head, torso, or arms. Don’t worry about perfection—focus on capturing the overall look of the accessory.
Tip: Experiment with patterns and textures to make the clothing stand out. Stripes, polka dots, or even logos can add personality to your avatar.
Refining the Details and Outlining
Once you’ve sketched the basic shapes and added clothing, it’s time to refine your drawing. Go over your lines with a darker pencil or pen to make them stand out. Erase any unnecessary marks or overlapping lines to clean up the sketch.
Add final details like shading or highlights to give your avatar depth. If you’re coloring your drawing, use bright, bold colors to match the playful Roblox style. Finish off your Roblox drawing by outlining the entire character for a polished look.
Reminder: Take your time with this step. Refining the details is what transforms your sketch into a finished piece of art.
Tips for Personalizing Your Roblox Avatar Drawing
Playing with Colors and Patterns
Colors and patterns make your Roblox avatar unique. Try mixing different ones! Bright colors like red, yellow, or blue feel happy. Darker colors like black or navy can feel mysterious. Patterns such as stripes, polka dots, or checkerboards make outfits more exciting.
Famous artists like Wassily Kandinsky and Henri Matisse used colors to show feelings. Warm colors like orange and red feel lively, while cool colors like blue and green feel calm. Use this idea to match your avatar’s personality. Want a bold look? Mix warm and cool colors, like Keith Haring did in his art.
Tip: Test colors on scrap paper or a digital app first. This helps you find the best look for your avatar!
Adding Special Features or Accessories
Accessories make your Roblox avatar stand out. Think about what makes them special. Maybe they wear a fun hat, big glasses, or carry a cool backpack. You could even add a pet or gadget to your drawing.
In Roblox, players love adding unique touches to their avatars. Developers create separate options for hair, faces, and accessories. You can do this in your drawing too. Break your avatar into parts and add creative details to each one.
Idea: Give your avatar a theme, like a superhero or pirate. This can help you think of matching accessories and designs.
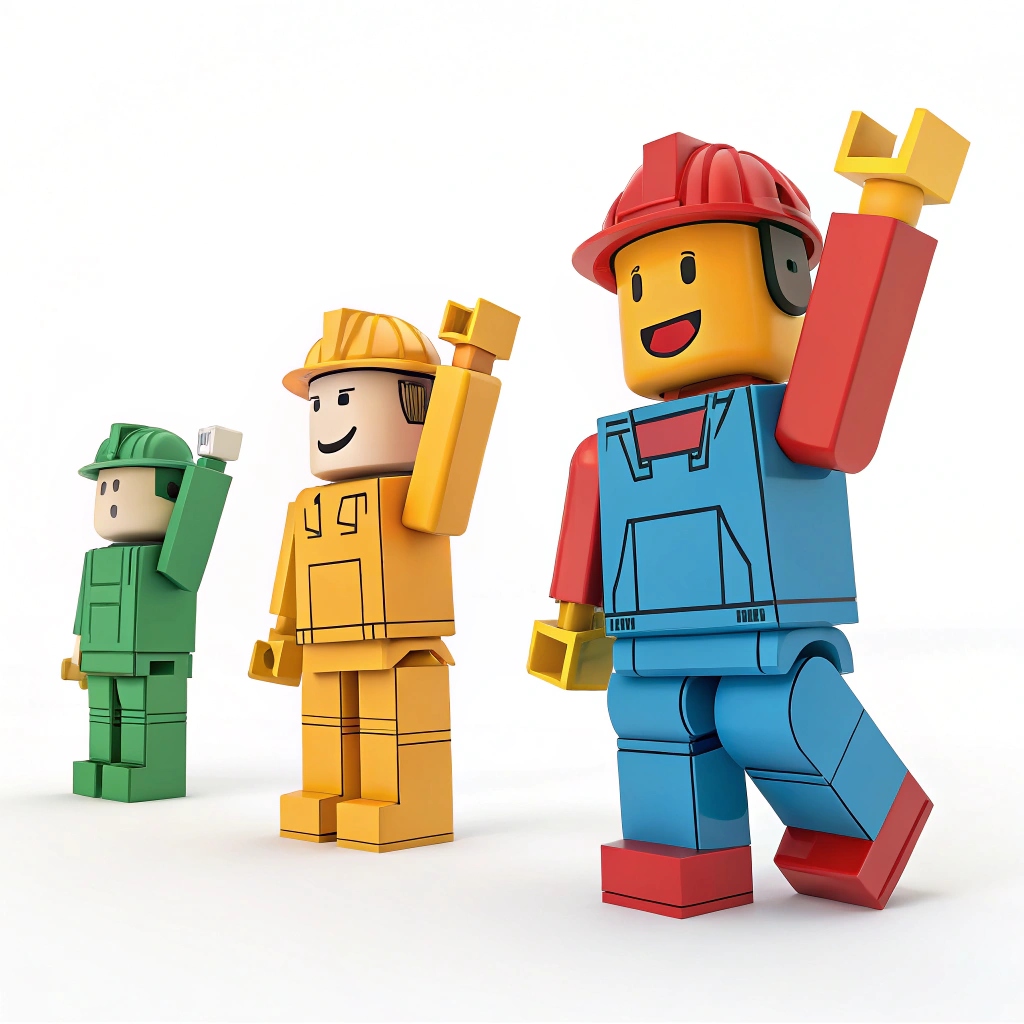
Trying New Poses and Expressions
After learning the basics, try drawing poses and expressions. A smile or raised eyebrow can show personality. For poses, think about what your avatar is doing. Are they waving, jumping, or holding something?
Practicing poses helps you learn how bodies move. Start with simple poses, like standing or sitting. Then, try harder ones, like running or dancing. Look at Roblox games or other drawings for ideas.
Tip: Keep your sketches loose when drawing poses. This makes it easier to fix or improve them later.
Great job! You’ve finished learning how to draw Roblox avatars. By using these steps, you now know how to sketch and improve your characters. Keep practicing to get better at drawing. Try out different styles and ideas to make your art special. This guide is only the beginning—your imagination will make your Roblox drawings one of a kind.
Tip: Mistakes are okay! Each drawing helps you become a better artist.
FAQ
How long does it take to draw a Roblox avatar?
It depends on your pace. Most beginners finish in 30–60 minutes. Take your time and enjoy the process!
Can I use digital tools to draw Roblox avatars?
Absolutely! Apps like Procreate or Photoshop work great. Use layers to organize your sketch, details, and colors.
What if my drawing doesn’t look perfect?
Don’t worry! Mistakes help you improve. Keep practicing, and your skills will grow. Remember, every artist starts somewhere. 😊
See Also
10 Essential Tips for Designing Cool Roblox Avatars
A Guide to Making Beautiful Art in Roblox
Complete Guide to Personalizing Your Roblox Characters
Tips for Crafting Eye-Catching Roblox Fan Artwork
10 Cute Ideas for Your Roblox Avatar Design


